Introduction
In this article we will learn how in Excel and VBA to delete a row. This is an extremely common task and if you’re using VBA you’ll want to know how to tackle it correctly.
Excel VBA Delete Row
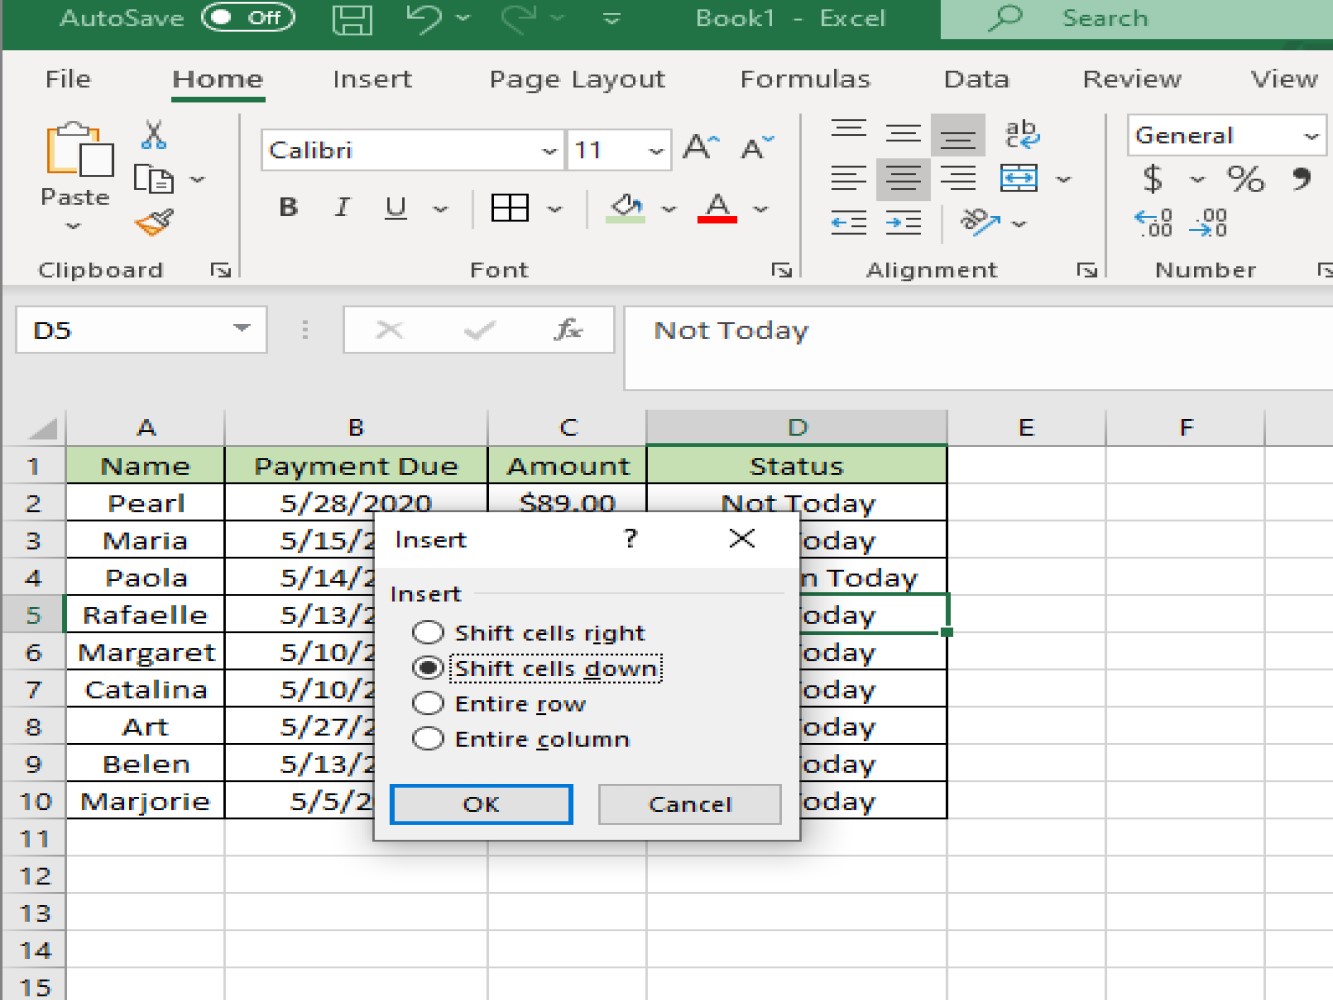
In an ordinary Excel worksheet we can delete a row by pressing CTRL plus signs + and -, and the excel will ask you what actions to take after deleting the row. See below:
With VBA you can delete a set of rows or just a single row. There are a couple functions we can use to accomplish the task:
Worksheets.Rows(insert row number here).Delete is used as the syntax in deleting a row while Range(“insert cell number here”).EntireRow.Delete is also used as the method in deleting a row.
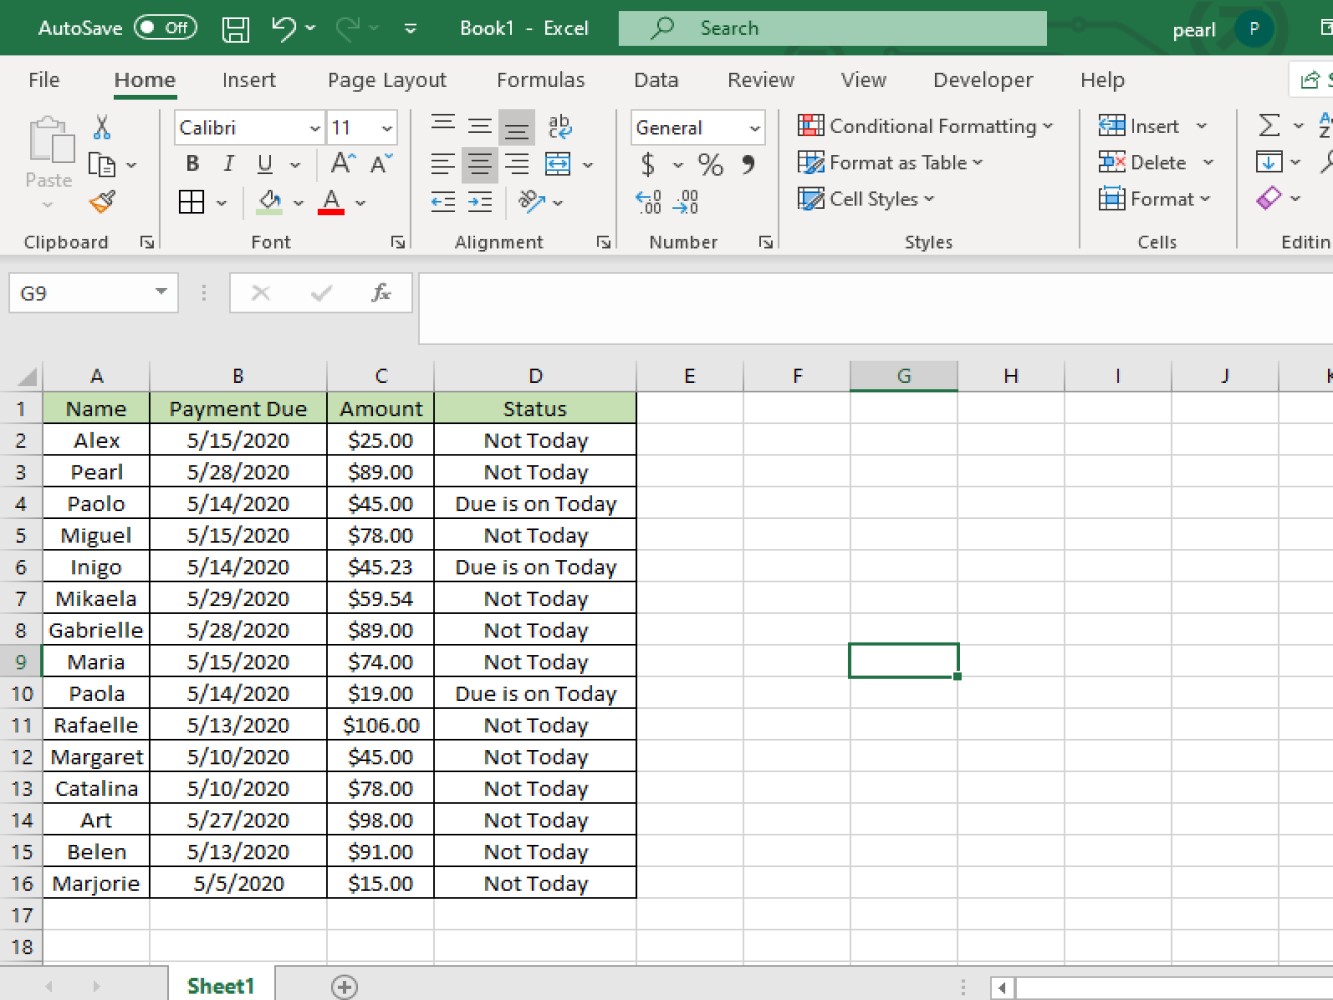
See below example reference for an example:
Let’s take a look at the code to delete a row:
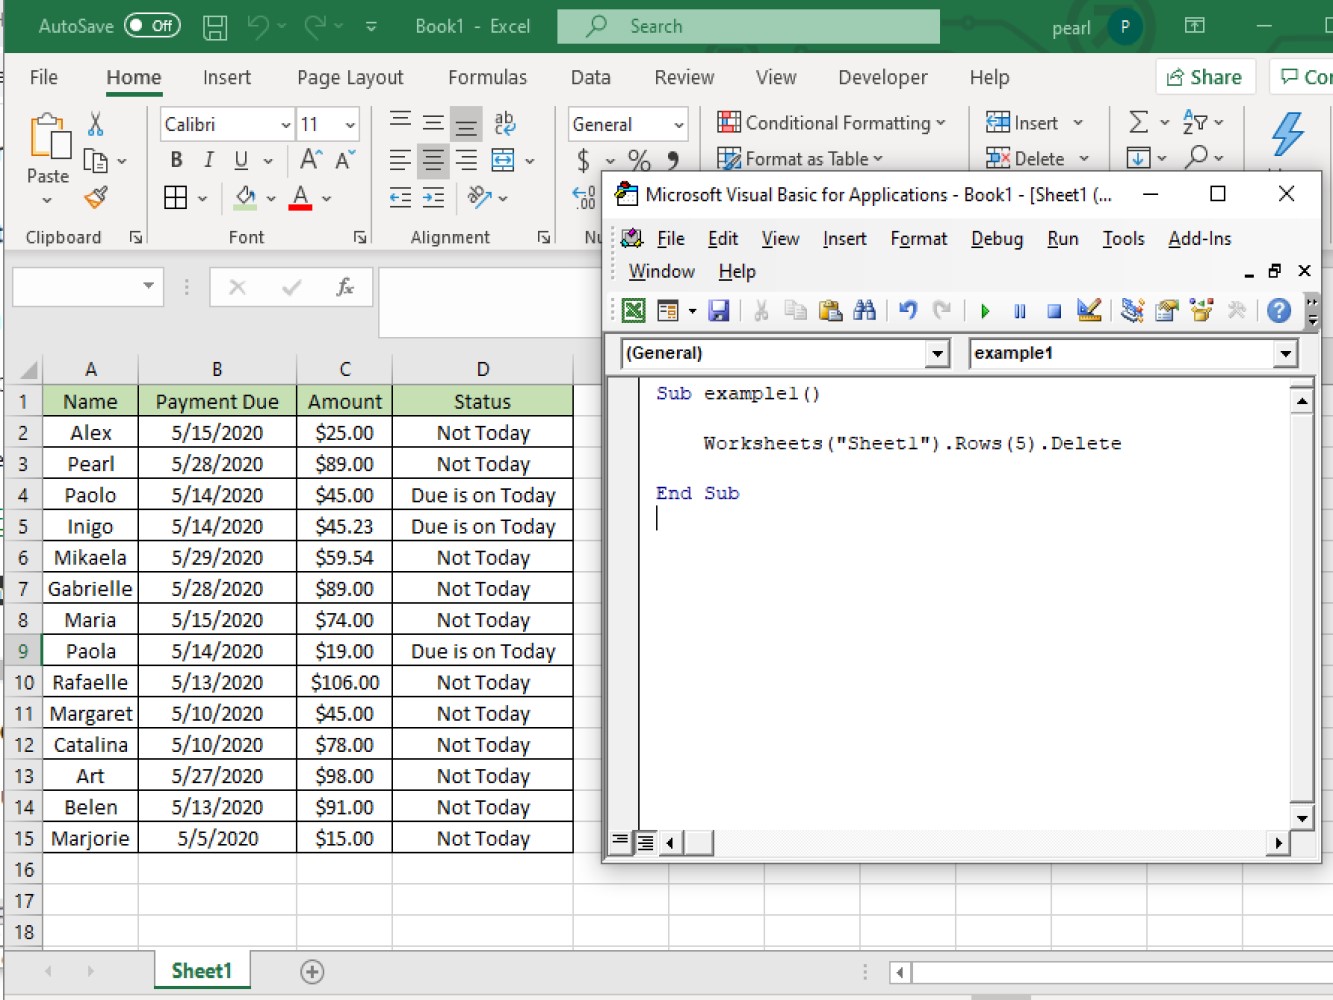
Sub example1()

Worksheets("Sheet1").Rows(5).Delete

End Sub
The macro code explanation:
- ***`Worksheets("Sheet1")`*** - this is the worksheet's name.

- ***`Rows(5)`*** - this indicates the row to be deleted.

- ***`Delete`*** - this is indicating the function to be used.
And after running the code row #5 is deleted. See the result below:
Deleting a row then shifting the rows up
Code:
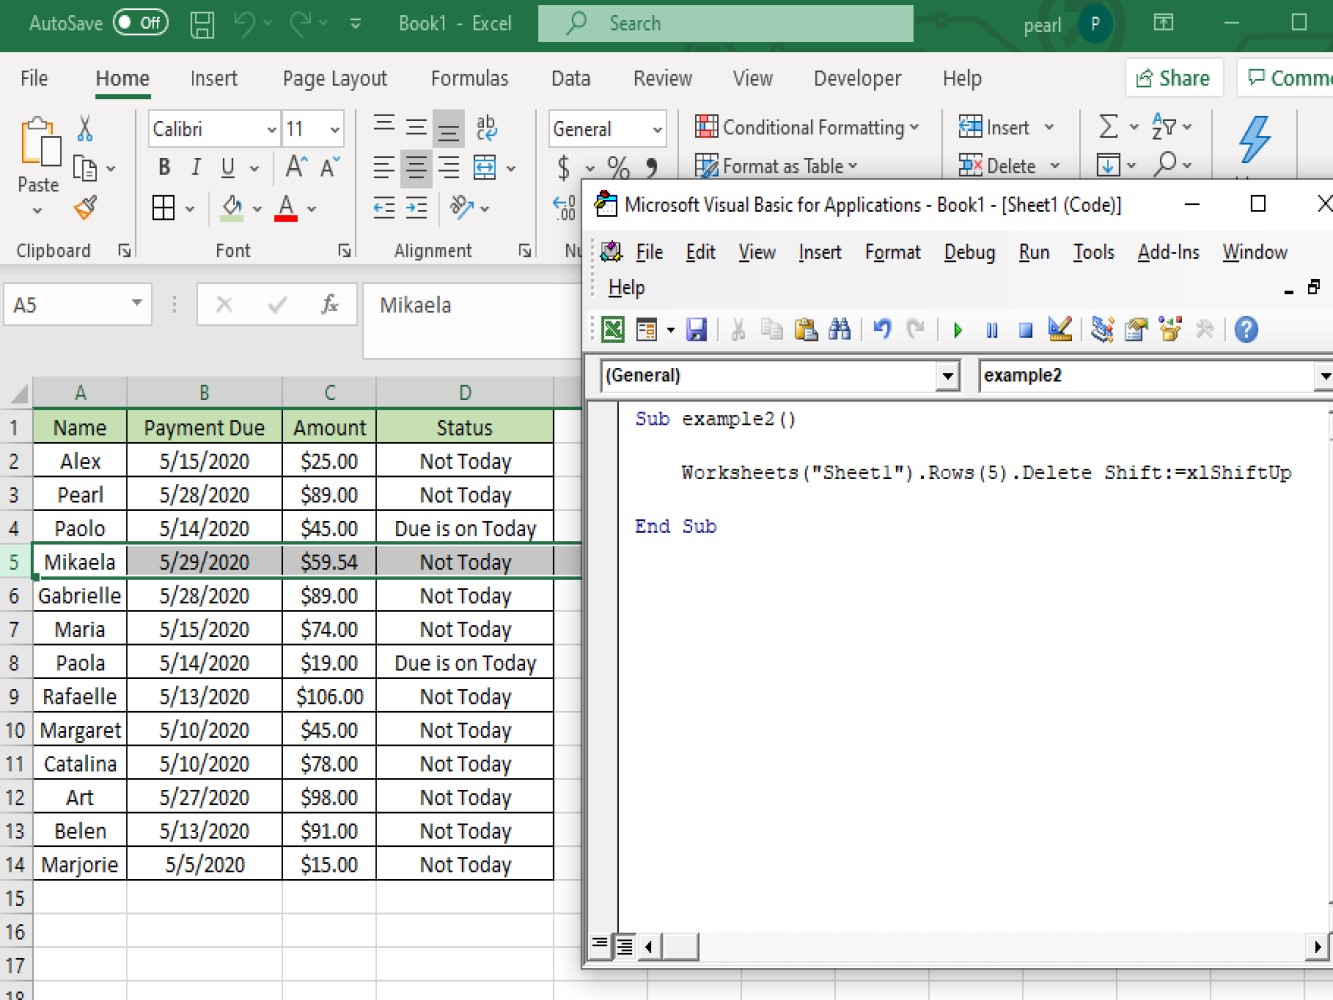
Sub example2()

Worksheets("Sheet1").Rows(5).Delete Shift:=xlShiftUp

End Sub
We have added Shift:=xlShiftUp for the cells below to move up after deleting the 5th row.
The result:
Deleting multiple rows at once
Let’s take a look at the code for deleting multiple rows:
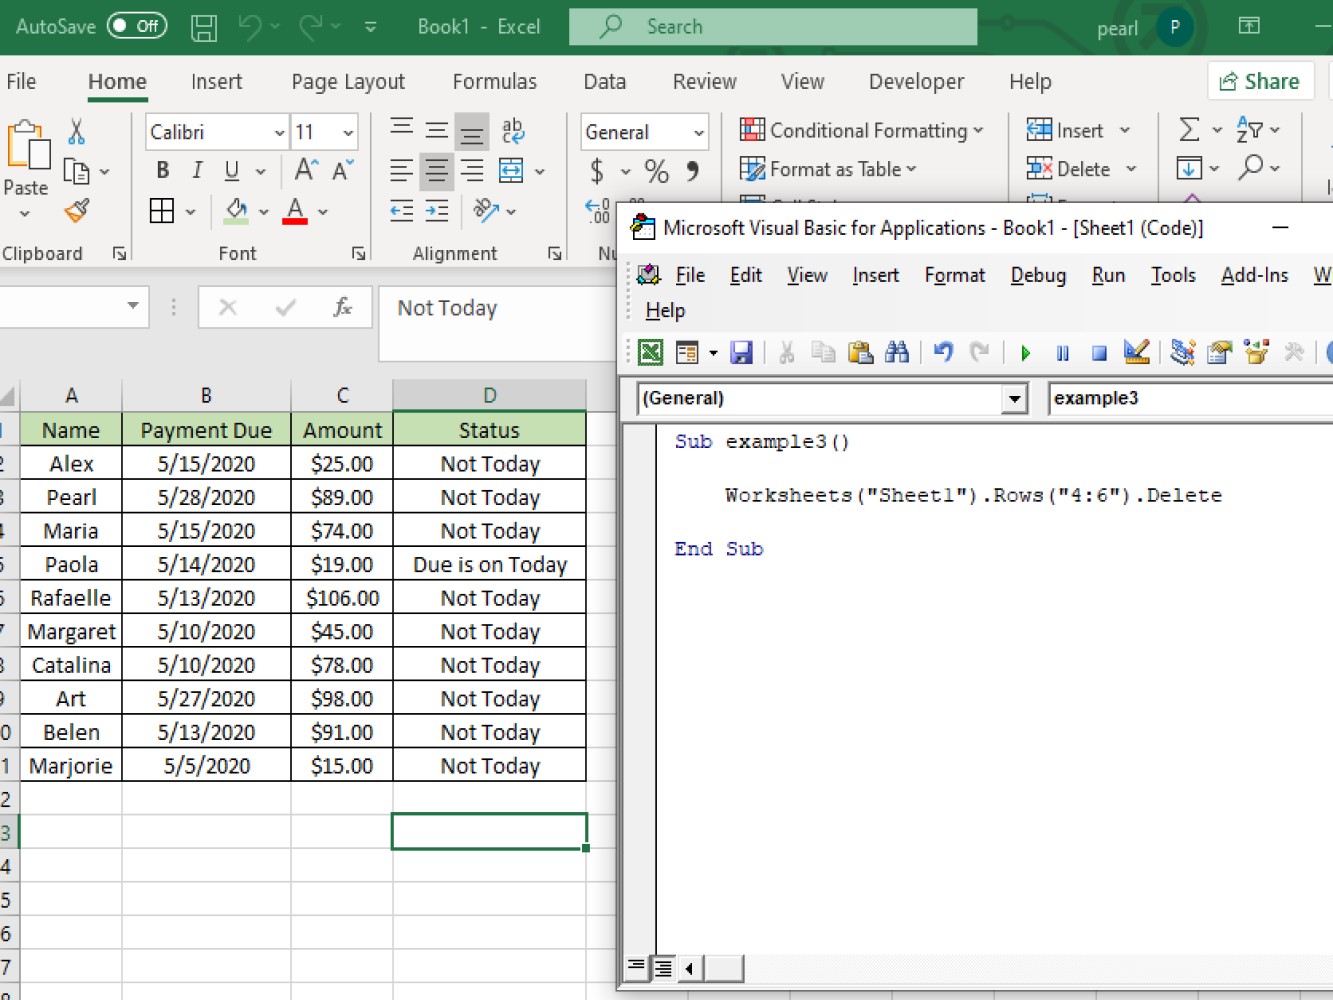
Sub example3()

Worksheets("Sheet1").Rows("4:6").Delete

End Sub
Code explanation:
- ***Worksheets("Sheet1")*** - indicates the worksheets name.

- ***Rows("4:6")*** - this indicates the specific rows to be deleted.

- ***Delete*** - this indicates the function to be used.
Here’s a screenshot of the result:
Let’s take a look at another example:
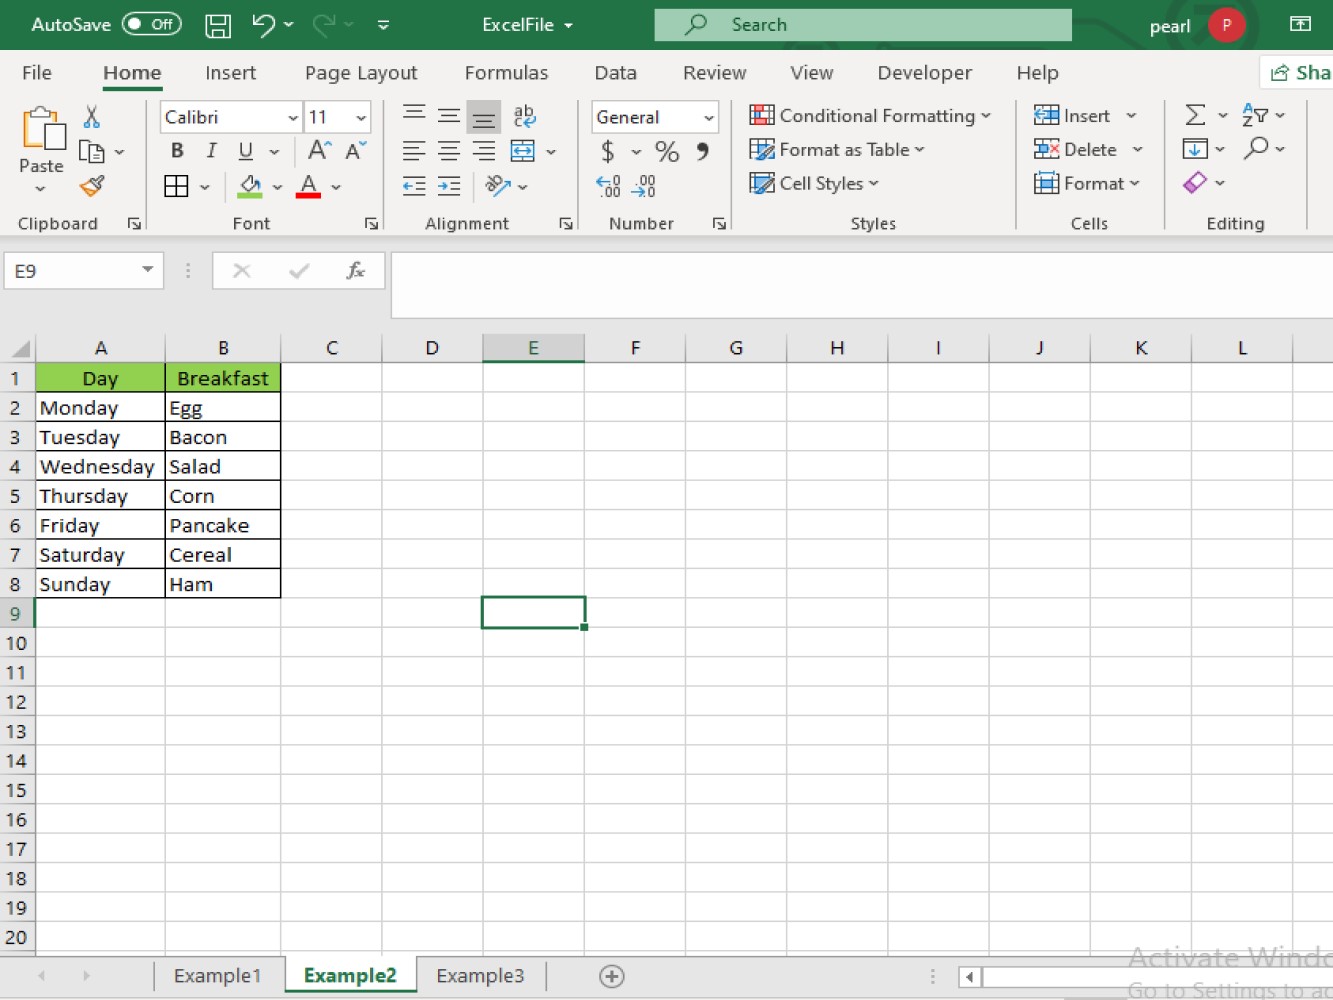
Code:
Sub example4()

Worksheets("Example2").Rows("2:4").Delete

End Sub
Code explanation:
- ***Worksheets("Example2")*** - this refers to the worksheet's name. This is important if you have multiple worksheets opened.

- ***Rows("2:4")*** - this refers to the rows we want to delete. Starting from row 2 up to row 4.

- ***Delete*** - this defines as the function or method we are about to instruct VBA to perform on those rows.
Let’s take a look at the result after running the code:
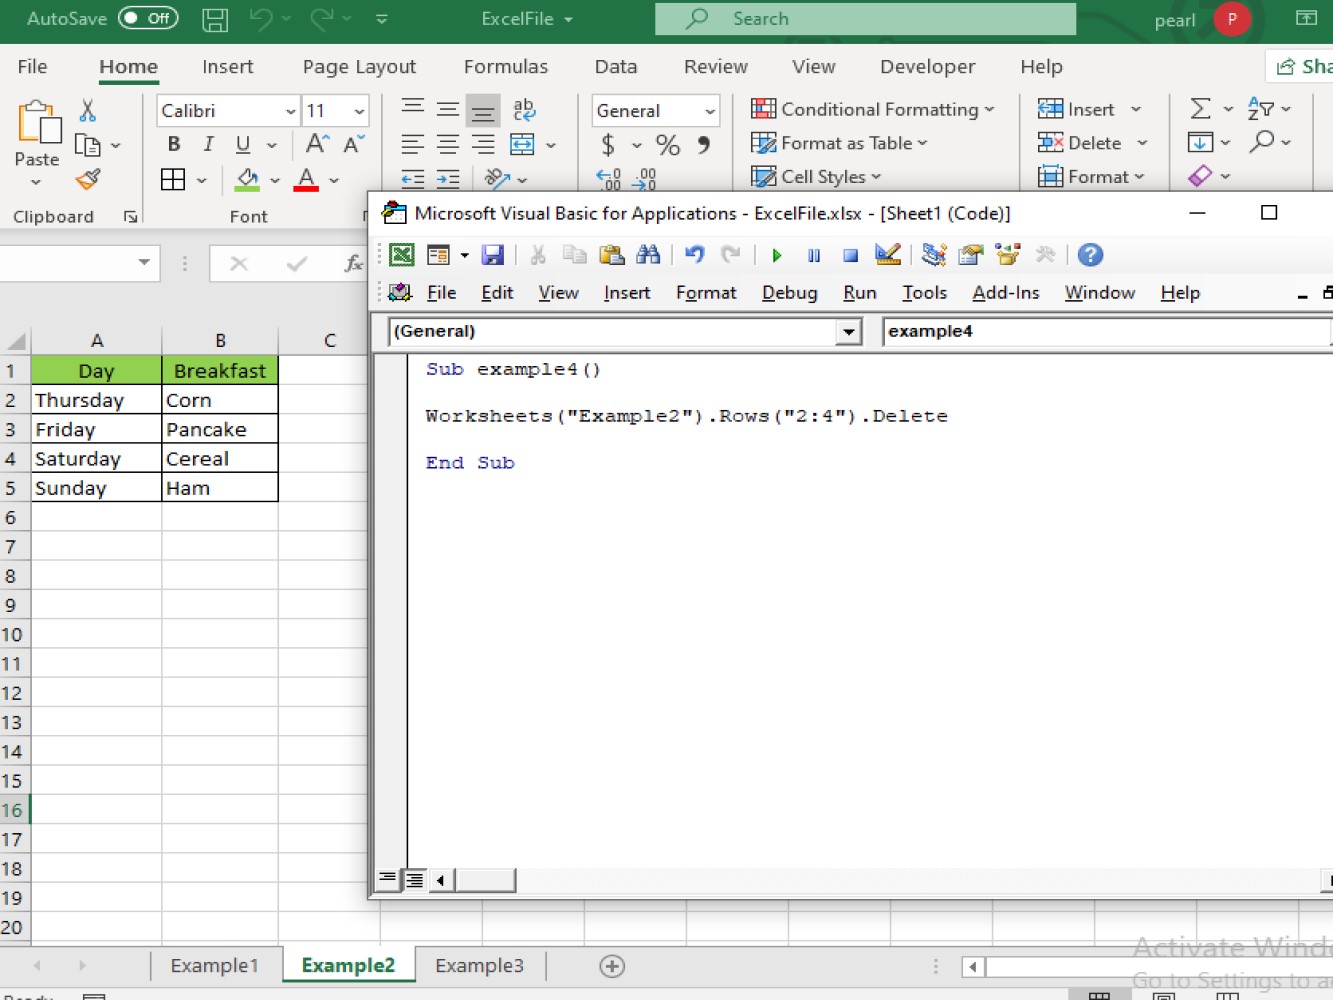
Deleting an entire rows
Code:
Sub example5()

Dim WRKSheet As Worksheet
Set WRKSheet = ThisWorkbook.Worksheets("Example2")
WRKSheet.Activate

On Error Resume Next
WRKSheet.ShowAllData

On Error GoTo 0

WRKSheet.Range("A2:D100").AutoFilter field:=4, Criteria1:=""

Application.DisplayAlerts = False
WRKSheet.Range("A2:D100").SpecialCells(xlCellTypeVisible).Delete
Application.DisplayAlerts = True

On Error Resume Next
WRKSheet.ShowAllData
On Error GoTo 0

End Sub
Code explanation:
- *** Dim WRKSheet As Worksheet*** - this is our integer. WRKSheet refers to *worksheet*.

- Set WRKSheet = ThisWorkbook.Worksheets("Example2")
WRKSheet.Activate - this refers to the active worksheet’s name.
- ***WRKSheet.Range("A2:D100").SpecialCells(xlCellTypeVisible).Delete*** - in this part of the code, this is referring to the range we wanted to be deleted.Note: a pop-up warning can also show if we have set all the Application.DisplayAlerts into true.
And the result after running the code:
Note:
- Using a ***single cells*** we can delete a single row

- By using ***range of cells*** we can delete multiple rows at once.
Conclusion
We have demonstrated a few examples of deleting rows in Excel using VBA. We hope you can use what you’ve learned to create cleaner and more effective worksheets for yourself.