keyword: vba excel open file dialog
In this tutorial we'll cover how to create an VBA Excel open file dialog box. We'll use some basic examples so you can easily follow along.
In VBA the Application.GetOpenFileName method allows you to choose a file you want to open. Let's jump in and learn how to use it!
We can use macro codes in opening a dialog box instead of doing it manually. See the sample code below:
Sub Example1()

Dim this file As String

thisFile= Application.GetOpenFilename(FileFilter:="Excel Example files *.xlsx* (*.xlsx*)", Title:="Choose an Excel file to open", MultiSelect:=True)

End Sub
Let's take a look at our code so far:
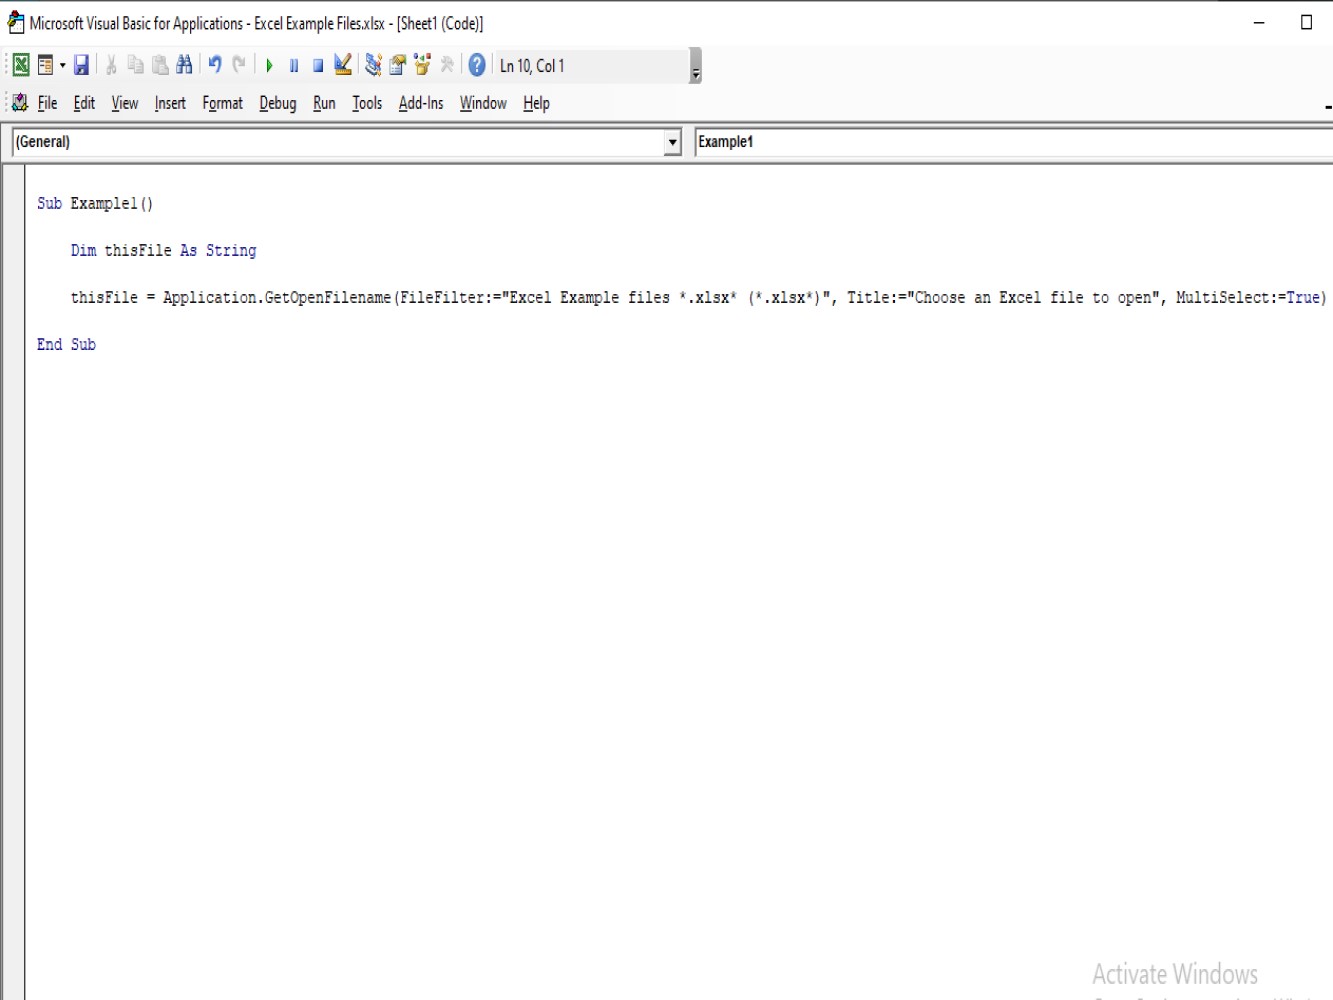
In the above code we can see different parameters included. Those parameters are defined as the following:
FileFilter - this indicates VBA to filter the file type.Title:="Choose an Excel file to open" - this is the open file dialog box's name. We can rename or change the title of the dialog box based on your usage or desire.MultipleSelect: = True - in this part of the code true is encoded and this allows or indicates VBA to open multiple files. If we do not allow VBA to open multiple files, use false.Let's take a look at opening a file dialog box in a specific folder:
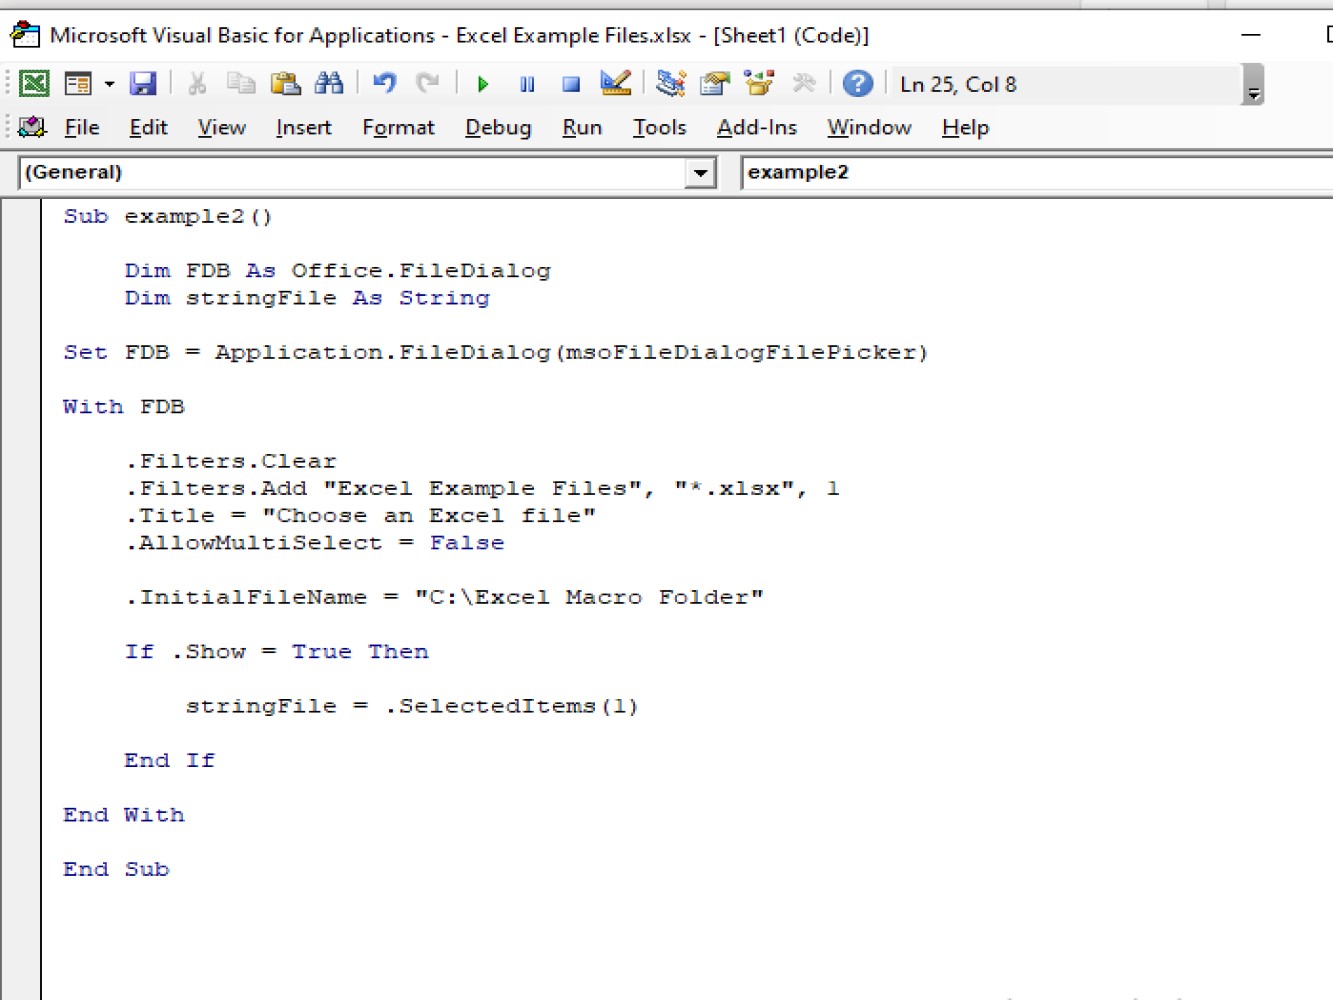
Sub example2()

Dim FDB As Office.FileDialog
Dim stringFile As String

Set FDB = Application.FileDialog(msoFileDialogFilePicker)

With FDB

.Filters.Clear
.Filters.Add "Excel Example Files", "*.xlsx", 1
.Title = "Choose an Excel file"
.AllowMultiSelect = False

.InitialFileName = "C:\Excel Macro Folder"

If .Show = True Then

stringFile = .SelectedItems(1)

End If

End With

End Sub
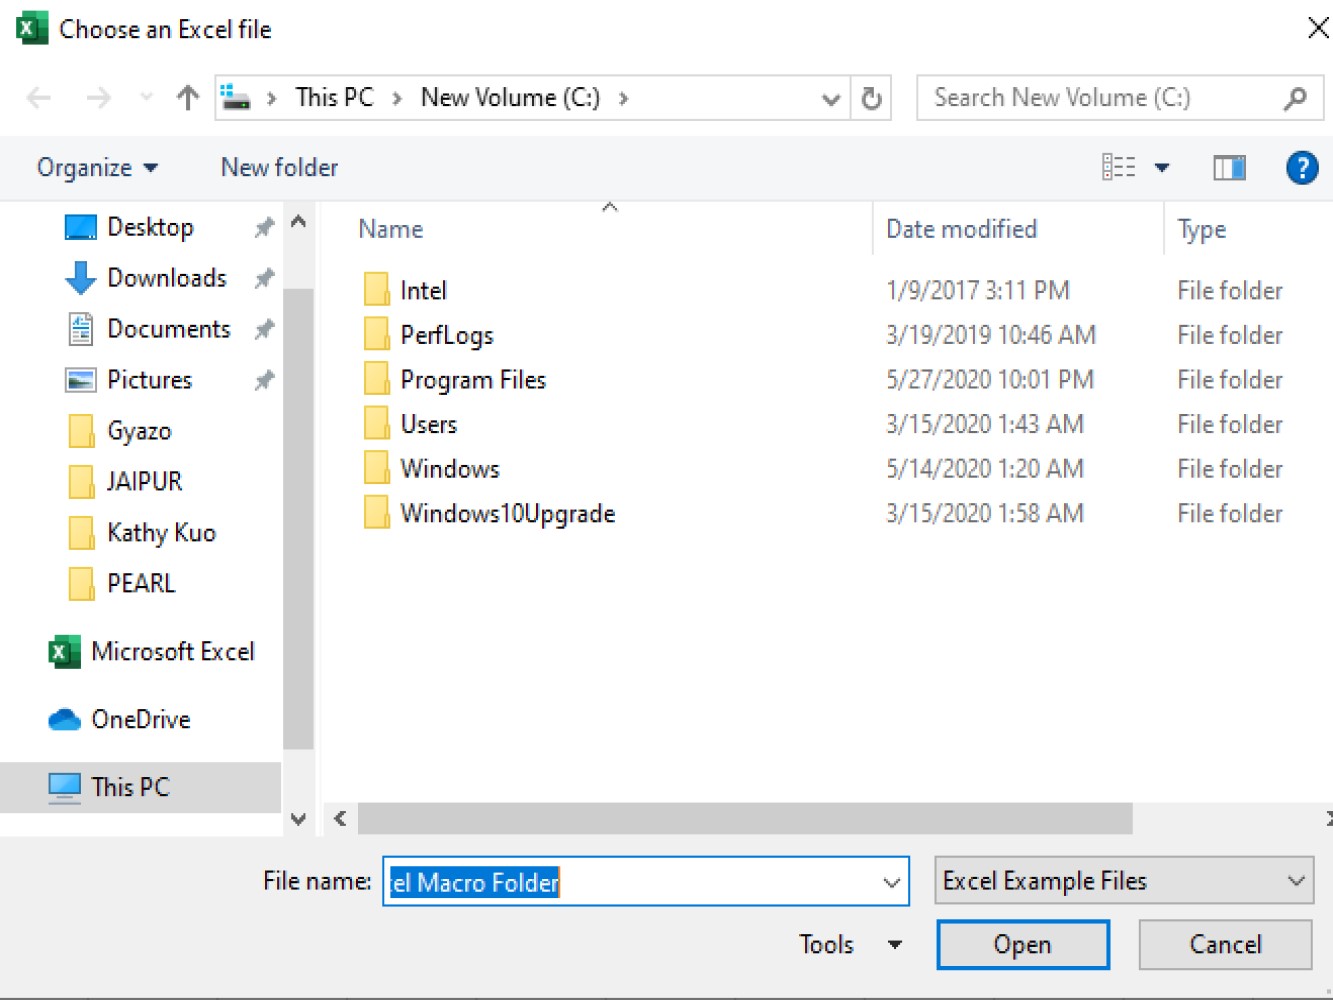
Now let's look at the result after running our macro:
Dim FDB As Office.FileDialog - this lets VBA know that we are defining FDB as our parameter. FDB stands for File Dialog Box.FDB - this defines our variable.Office.FileDialog - this refers to the defined variable fd.Dim stringFile - this is defined as our string.Set FDB- this sets VBA to process Application.FileDialog(msoFileDialogFilePicker and be defined as our file picker and this will help VBA to locate the file we are picking.This is our with function and between the with function are the parameters:
.Filters.Clear - set the filters to be cleared.Filters.Add "Excel Example Files", "**.xlsx", 1 - this is the workbook we are going to find..Title = "Choose an Excel file"- this is the dialog box's name.AllowMultiSelect = False- this is indicating that we are only opening or selecting one file and not multiple files. In case we want to open multiple files, set this to True..InitialFileName = "C:\Excel Macro Folder" - this will indicate VBA that the workbook we are looking for is located in that folder. It is important to add this to our code, so we cannot encounter any error.In this tutorial we've shown you how to use VBA in Excel to include file dialog boxes into your worksheets. We've shown you how to specify the folder it should open in as well as how to specify whether or not selecting multiple files is allowed. We hope you can use this functionality to build more sophisticated and powerful worksheets with Excel.