This article tutorial will show you how to correctly transpose data in Excel using the TRANSPOSE function. We'll start with some prerequisites and then an explanation of what transpose in Excel does.
You need Microsoft Excel installed on your laptop/computer.
You must have a basic knowledge of mathematical formulas.
The Excel TRANSPOSE function will flip the direction of a given array. TRANSPOSE will convert a vertical range into a horizontal range, or vice versa. The function TRANSPOSE is classified on the function of Excel lookup and Reference.
The Excel TRANSPOSE function syntax is:
==TRANSPOSE(array)==
The argument in transpose (array) is a range of cells. An array transposition is created by using the array's first row as the first column of a new array, the array's second row as the new array's second column and so on.
To input the formula of the array in Excel:
TRANSPOSE's syntax is free from errors when creating a formula. A trickier part of a workbook is to enter it correctly. If you have no experience with this function please be sure to follow the step-by-step process provided below.
Step 1: In the Excel array, count the number of columns and rows.
The number of columns and rows you have counted is needed for the later steps.
Suppose we have this data:
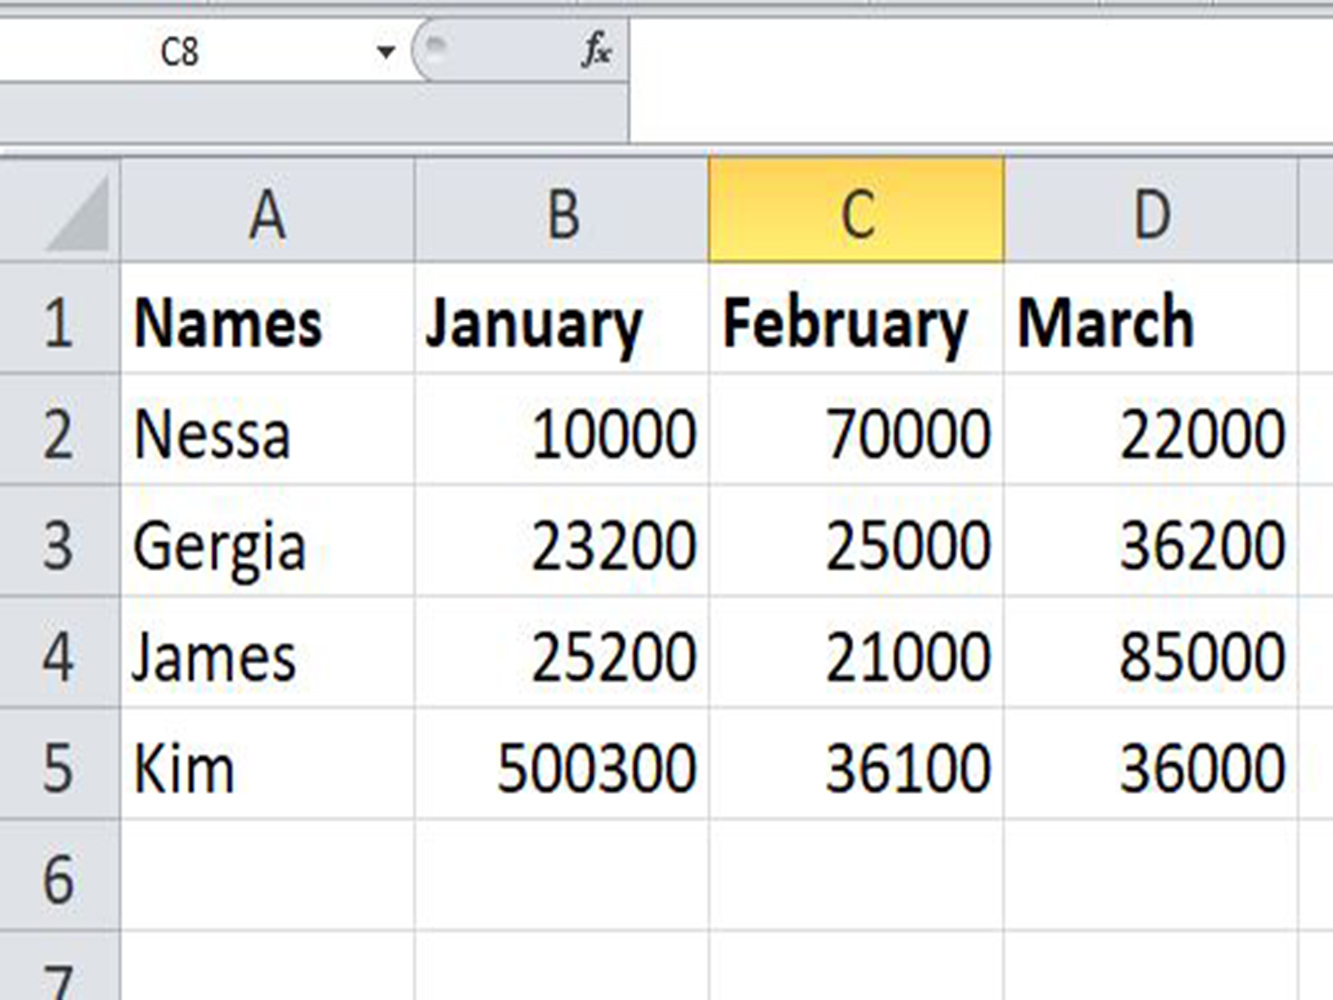
In the table above, it tells you how to transpose the sales data. It composed of 5 rows and 4 columns.
Step 2: Selecting the same number of cells, and you must change the orientation.
You must have to select empty cells with the same number of rows as the original column table and the same number of columns as the original rows table. Your updated table will have the same number of cells but should rotate vertically from the horizontal orientation or it can be vice versa.
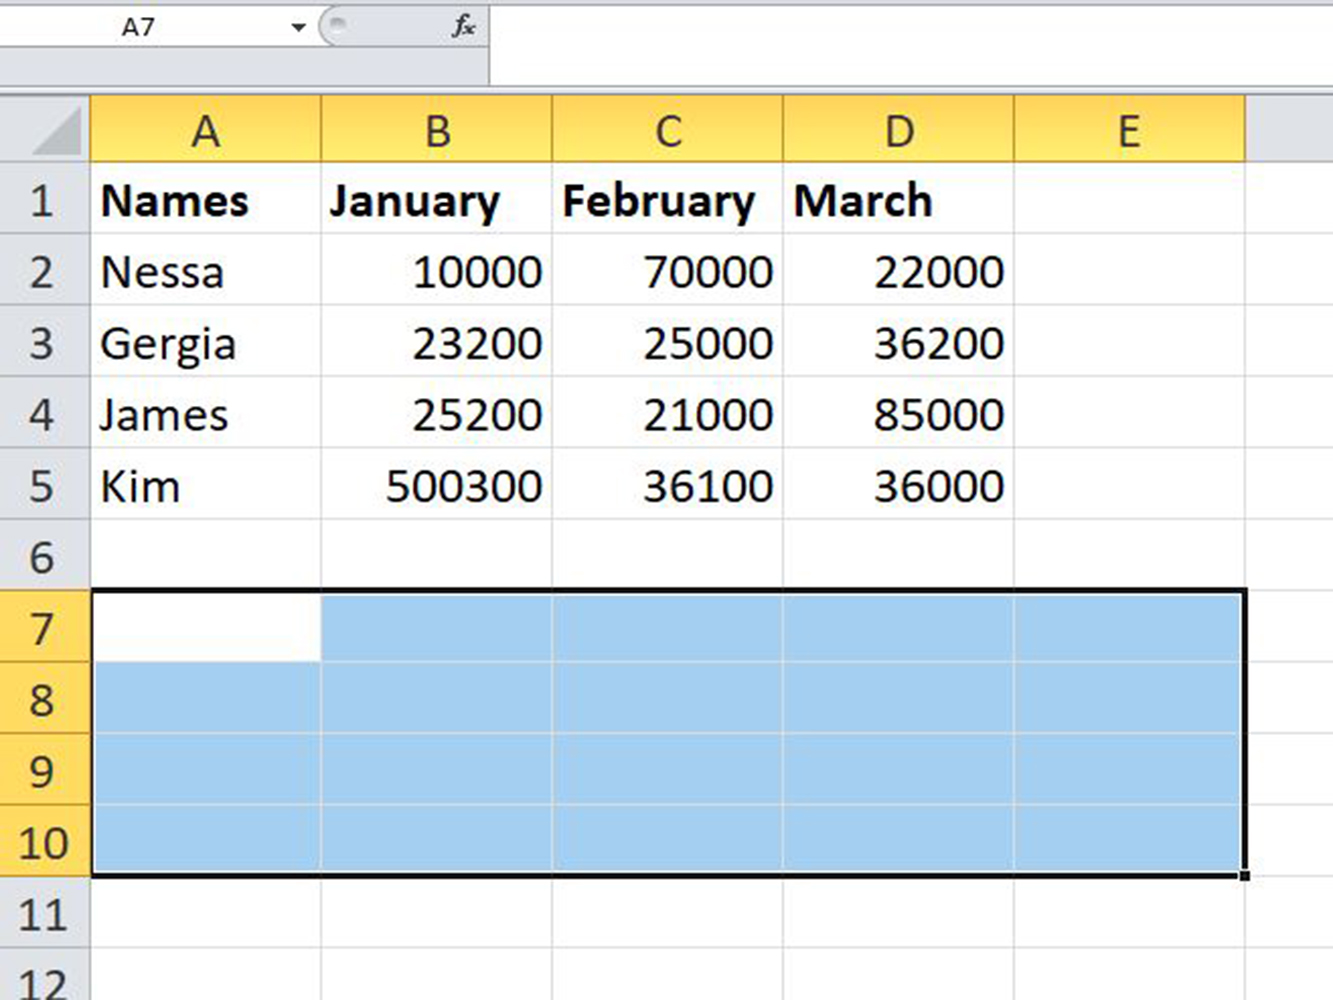
In the table above, the selected cells have 5 columns and 4 rows.
Step 3: Enter the TRANSPOSE formula in blank cells selected.
Always remember to put an equal sign (=) to begin the formula.

Once you entered the formula, DO NOT press Enter.
Step 4: Press CTRL+SHIFT+ENTER to run the formula.
Why press CTRL+SHIRT+ENTER instead of just hitting the Enter?
Because it would extend the formula to multiple cells.
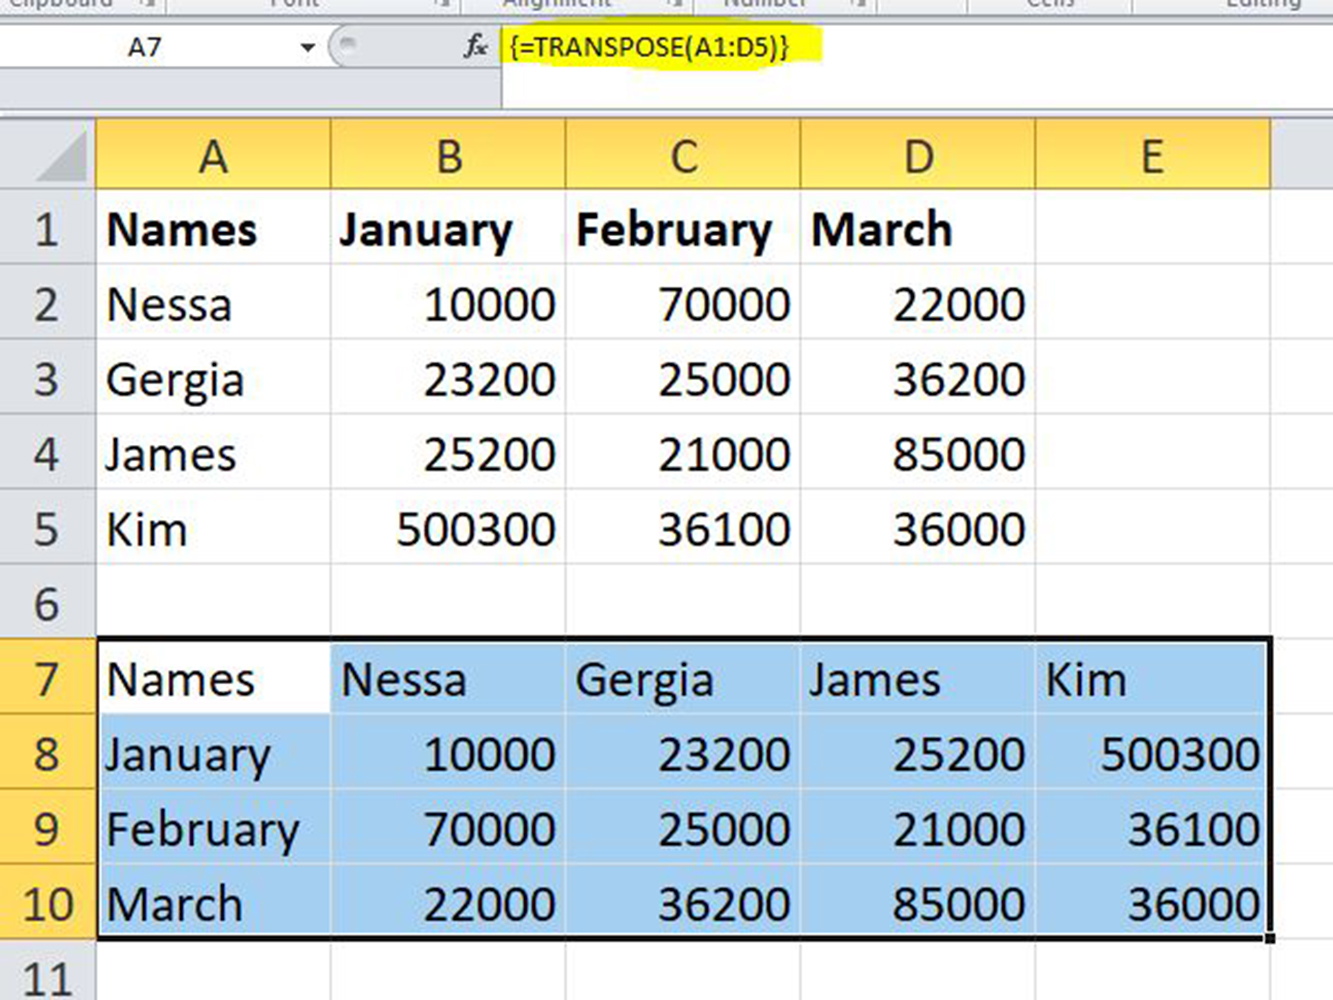
After you click Ctrl + Shift + Enter, It will enclose the formula along with { curly braces } which will be visible in the formula bar which are a visual representation of array formulation.
The sample table has been successfully transposed and 4 rows were converted into 4 columns.
Some tips below are useful to avoid making mistakes when using the transpose function in Excel.
The TRANSPOSE function does not allow modifying part of array converted. So, select the entire range to which the formula applies to edit a Transpose formula then make any changes you want and press Ctrl+Shift+Enter to save the modified formula.
Using the TRANSPOSE function, when you flip a range, the source range and the output range will be related. This implies that the corresponding value in the transposed table changes automatically if you change any value in the original table.
If you want to break the link between the two tables, then replace the formula with calculated values. To do this, select all of the data returned by your formula, press Ctrl + C to copy it, press right-click and select Special Paste on Values from a context menu.
Select the entire range referenced in the formula and press the Delete key to remove a Transpose formula from your worksheet.
We hope this information on Transpose in Excel has been helpful to your task at hand. Transposing data in your table is extremely common and a good understanding of the Transpose function will go a long way. Thanks for joining.