In this article we'll go over some of the more common commands in the VBA command list. We'll also show you examples of each of the commands we go over. Please try these out on your own because it will help cement the concepts.
Microsoft Excel uses several useful and powerful macros to speed up your work and save the time that you need when executing your activities. In this article you will see a comprehensive description and a few examples of the different VBA code that you can use in your Excel programs.
Before we start with the discussion, make sure that you download and install Microsoft Excel. Moreover, use the VBA developer program to enter the various statements provided in the succeeding sections of the article.
Kindly look and follow the steps provided below to execute the codes from the examples that will be seen in the succeeding sections of the article:
In this section, you will see several VBA codes that you can use when you are working with the Excel worksheets. Kindly follow the syntax and sample code provided below:
Here is the syntax of the Add Sheets command:
Private Sub AddSheets()
Sheets.Add
End Sub
Here is example code when you want to insert and define a new worksheet:
Sub AddSheetName()
Sheets.Add.Name = "Hello"
End Sub
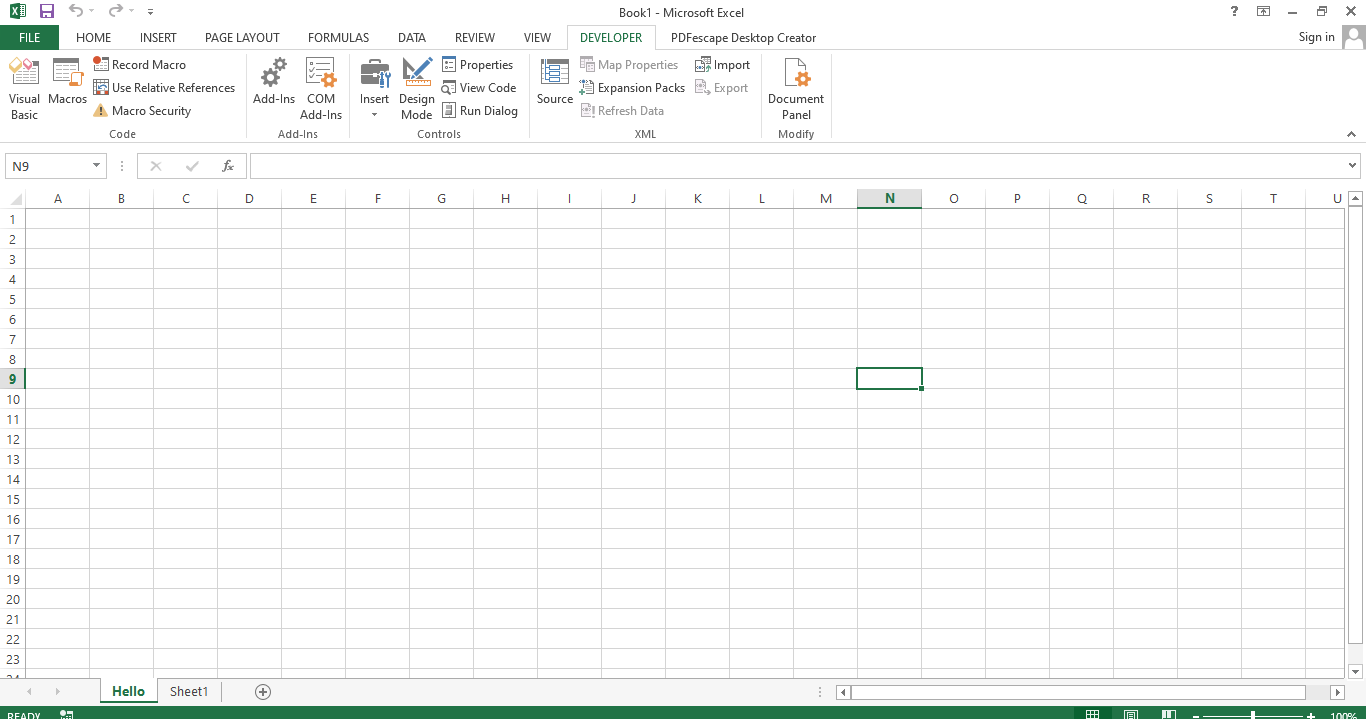
As you can see from the screenshot above, we were able to create a new worksheet with the name "Hello"
When you want to Clear the values found in your active worksheet you can use the syntax of the Clear Sheet command below:
Cells.Clear
Here is some sample code that you can try in your VBA Developer understand how we can clear the contents of some cells:
Private Sub ClearCellSheet()
ActiveSheet.Cells.Clear
End Sub
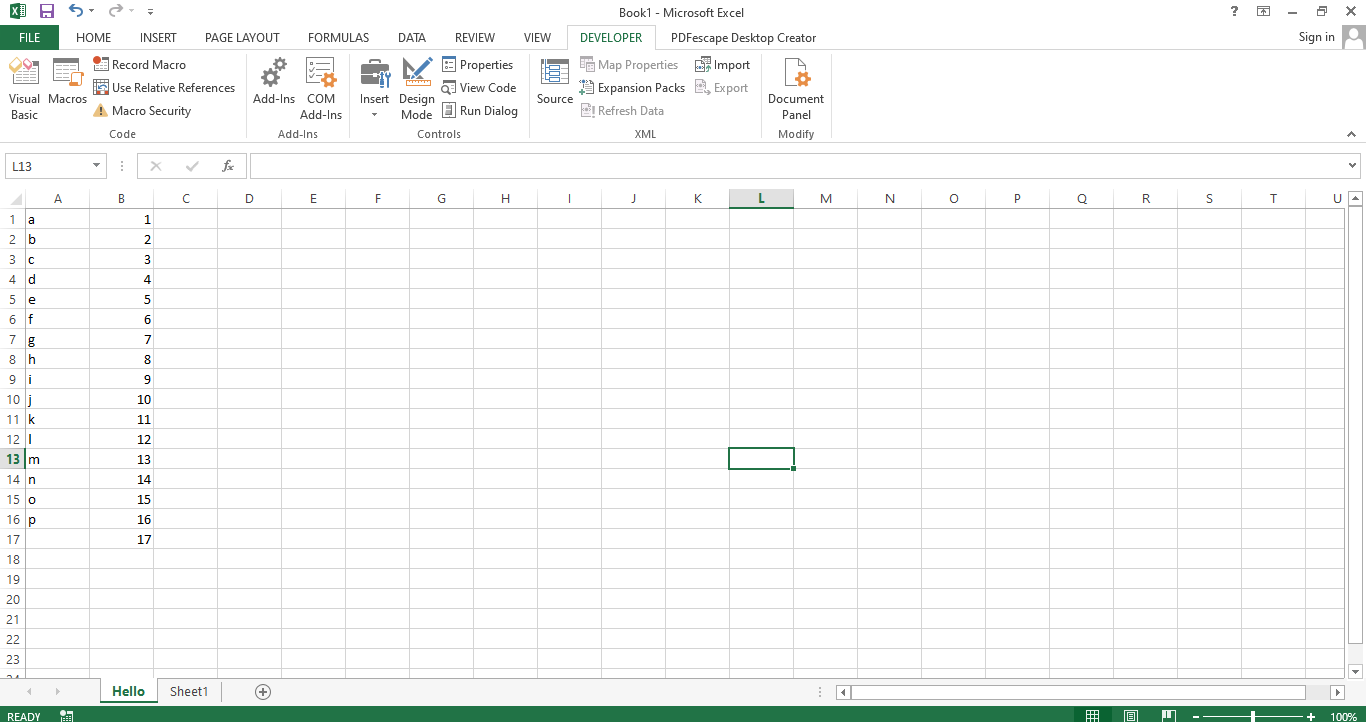
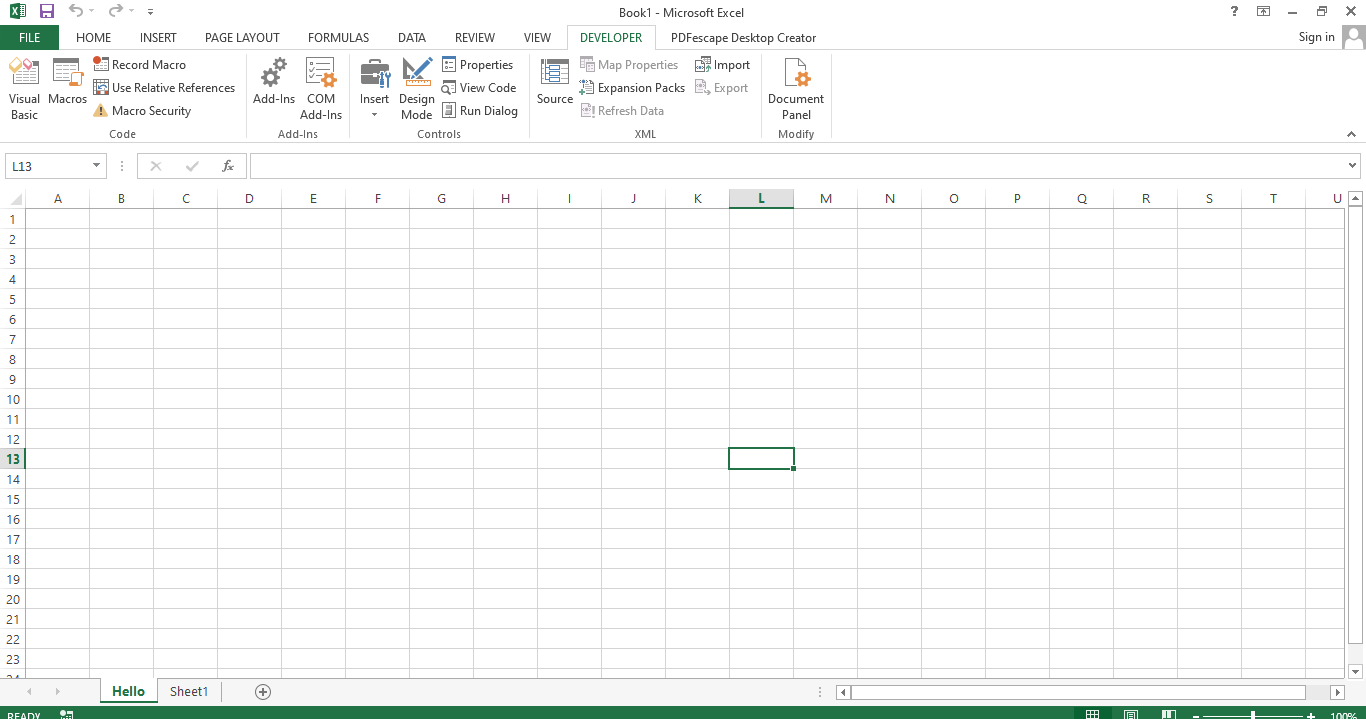
In this section, you will see the proper syntax and examples that you can use to further understand code for rows and columns.
To change the height and width of your rows follow the sample code below that you can enter in your code window:
Private Sub ChangeSize()

Rows("1:10").RowHeight = 50
Columns("A:F").ColumnWidth = 70

End Sub
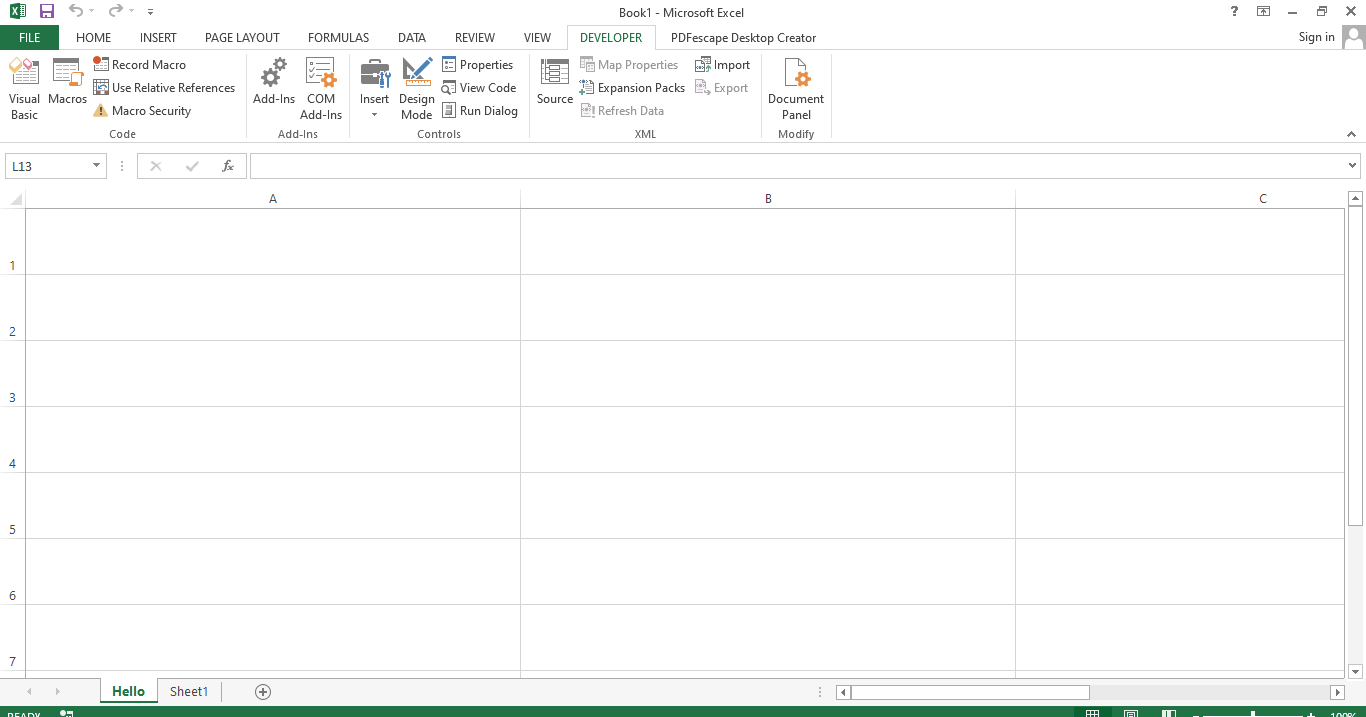
Based on the screenshot above you can see that we were able to change the height and width with the use of VBA.
You can follow the sample code below that will show how you can protect and unprotect your Excel file with the use of the VBA.
Private Sub ProtectUnprotect()
On Error GoTo ErrorOccured
Dim pwd As String, Sheet As String
pwd = InputBox("Please Enter the password"")
If pwd = "hello" Then Exit Sub
Sheet = "Workbook as a whole"
ActiveWorkbook.Protect Structure:=True, Windows:=False, Password:=pwd
MsgBox "The workbook is protected"
Exit Sub
ErrorOccured:
MsgBox "Workbook not protected"
Exit Sub
End Sub
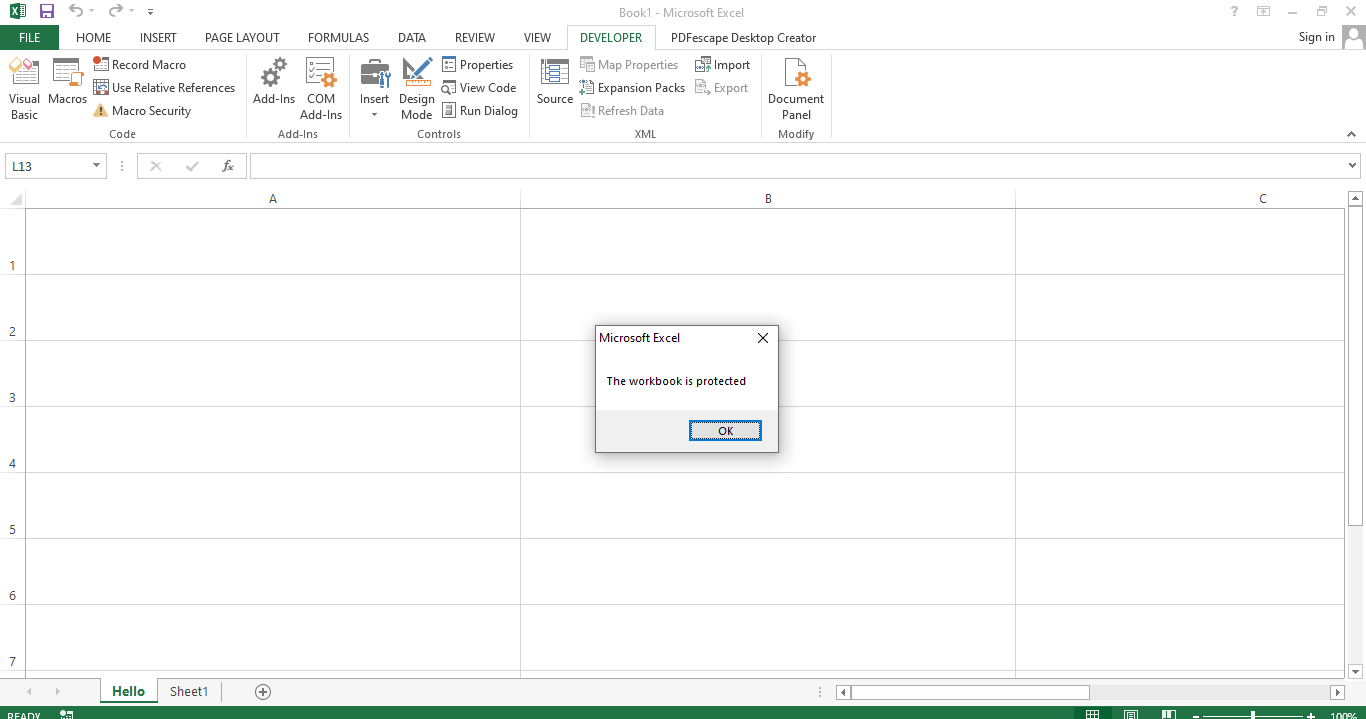
As you can see from the screenshot above we have written hi as the password and that is why a message box appeared that says "Workbook is protected." It simply means that we have entered the wrong password.
This concludes the discussion and examples of some of the command lists that you can use as you work in Excel.