Excel Data Validation is an excel feature that allows us to control the data being entered into our spreadsheet. For example we can make sure our data is in the format we expect. We can also do things like:
Let's create a drop-down list that has names where we can choose from a list of terms:
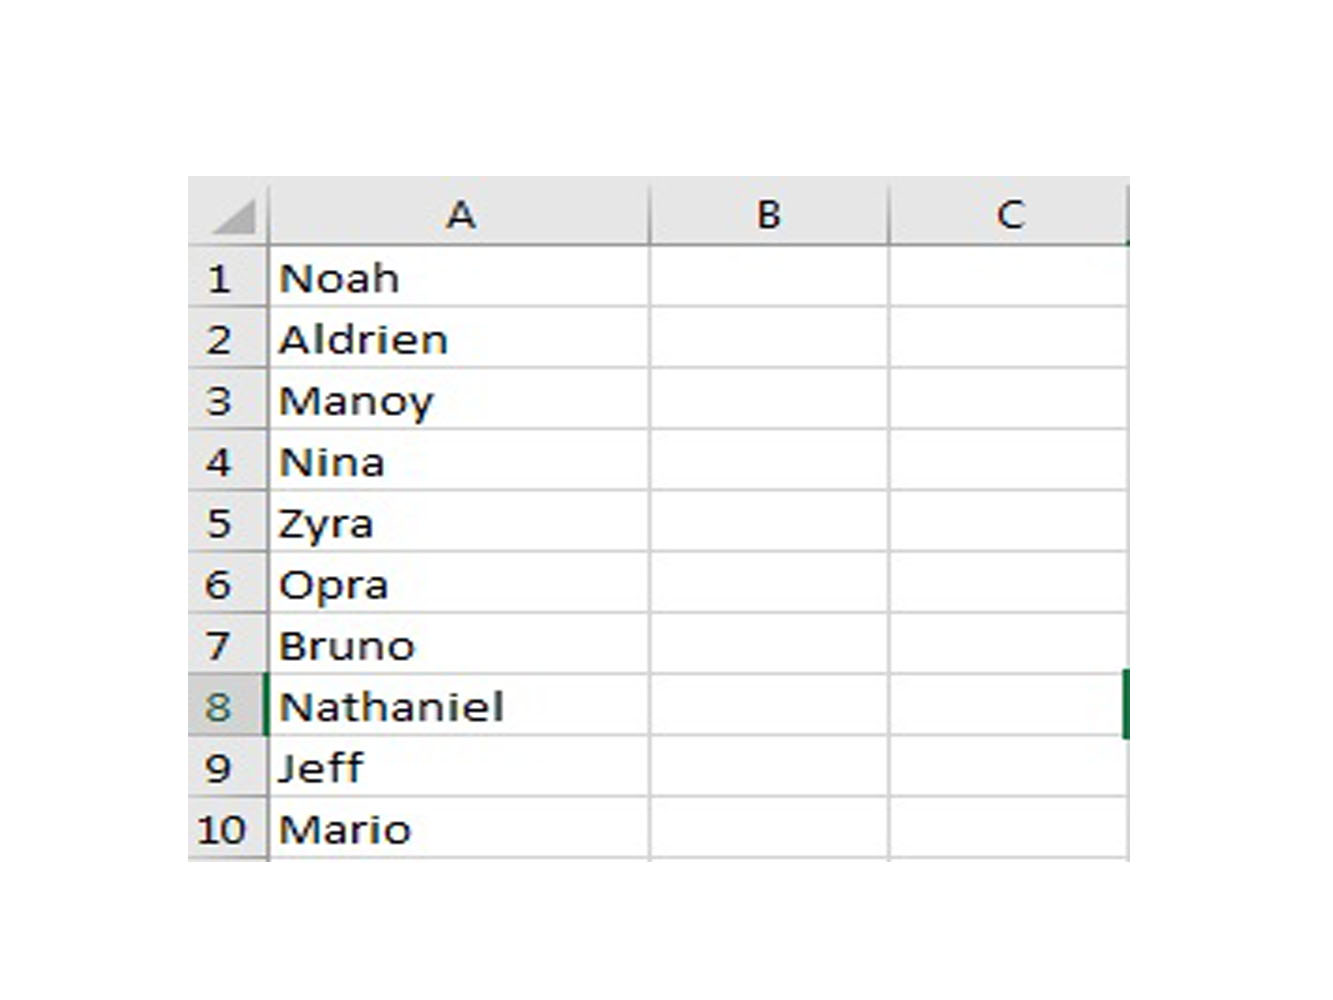
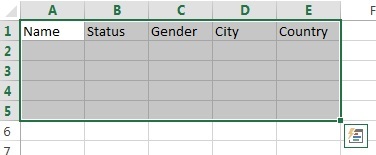
Step 1: Let's create a table with our given data.
Step 2: Create the entries that you want to have in the drop-down list. Don't leave any cells blank.
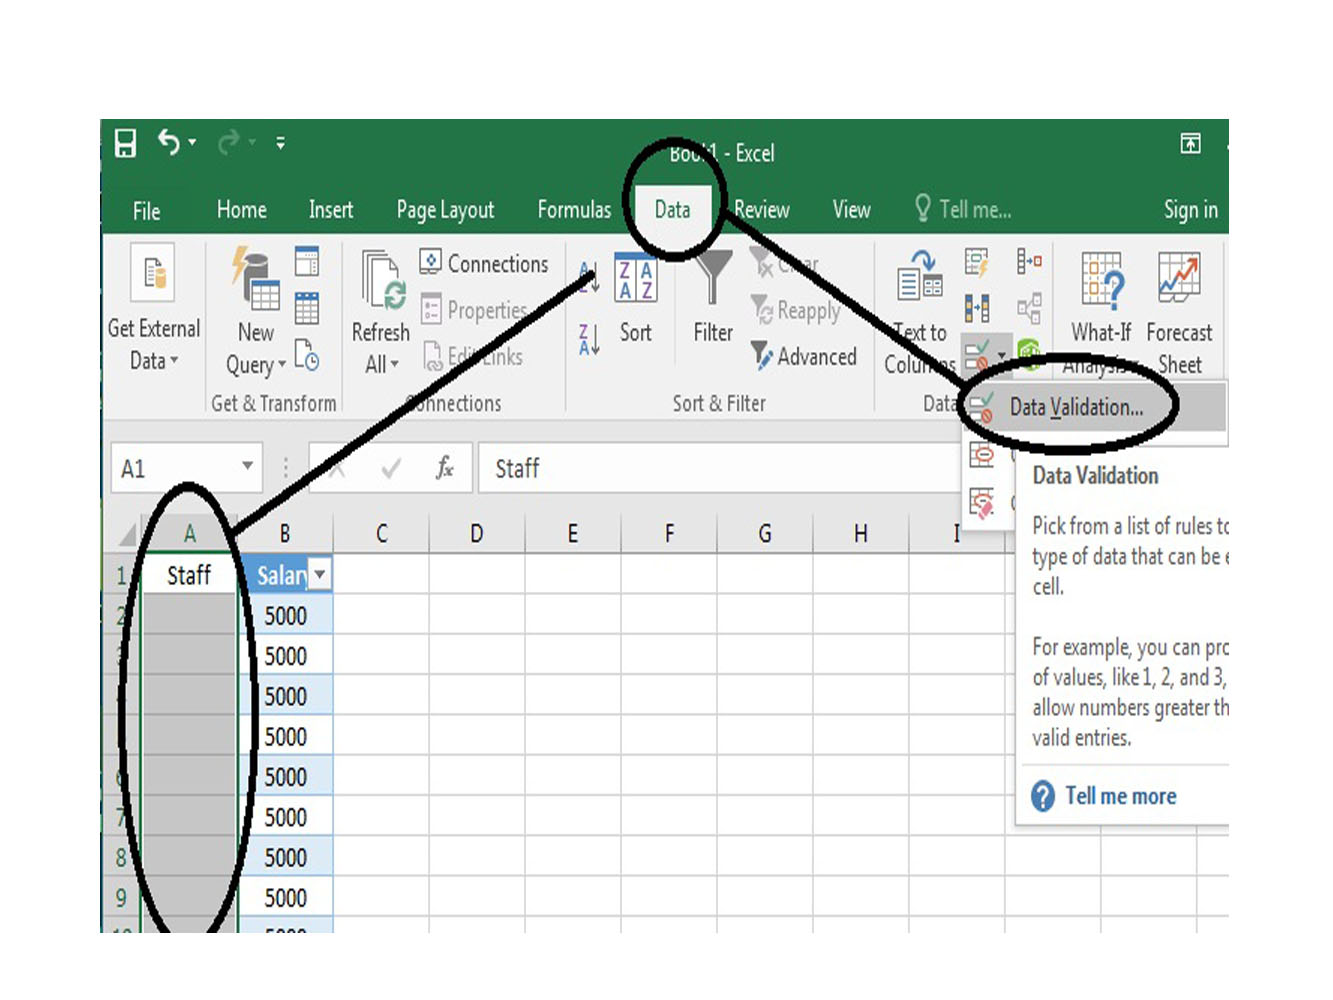
Step 3: Select sheet 2 then choose the cells that you want to have a drop-down list.
Step 4: Next, click the Data and select Data Validation on the top.
Step 5: Select the list on the allow drop-down list.

Step 6: On the Source Box, Click and select now the name list that you did before.
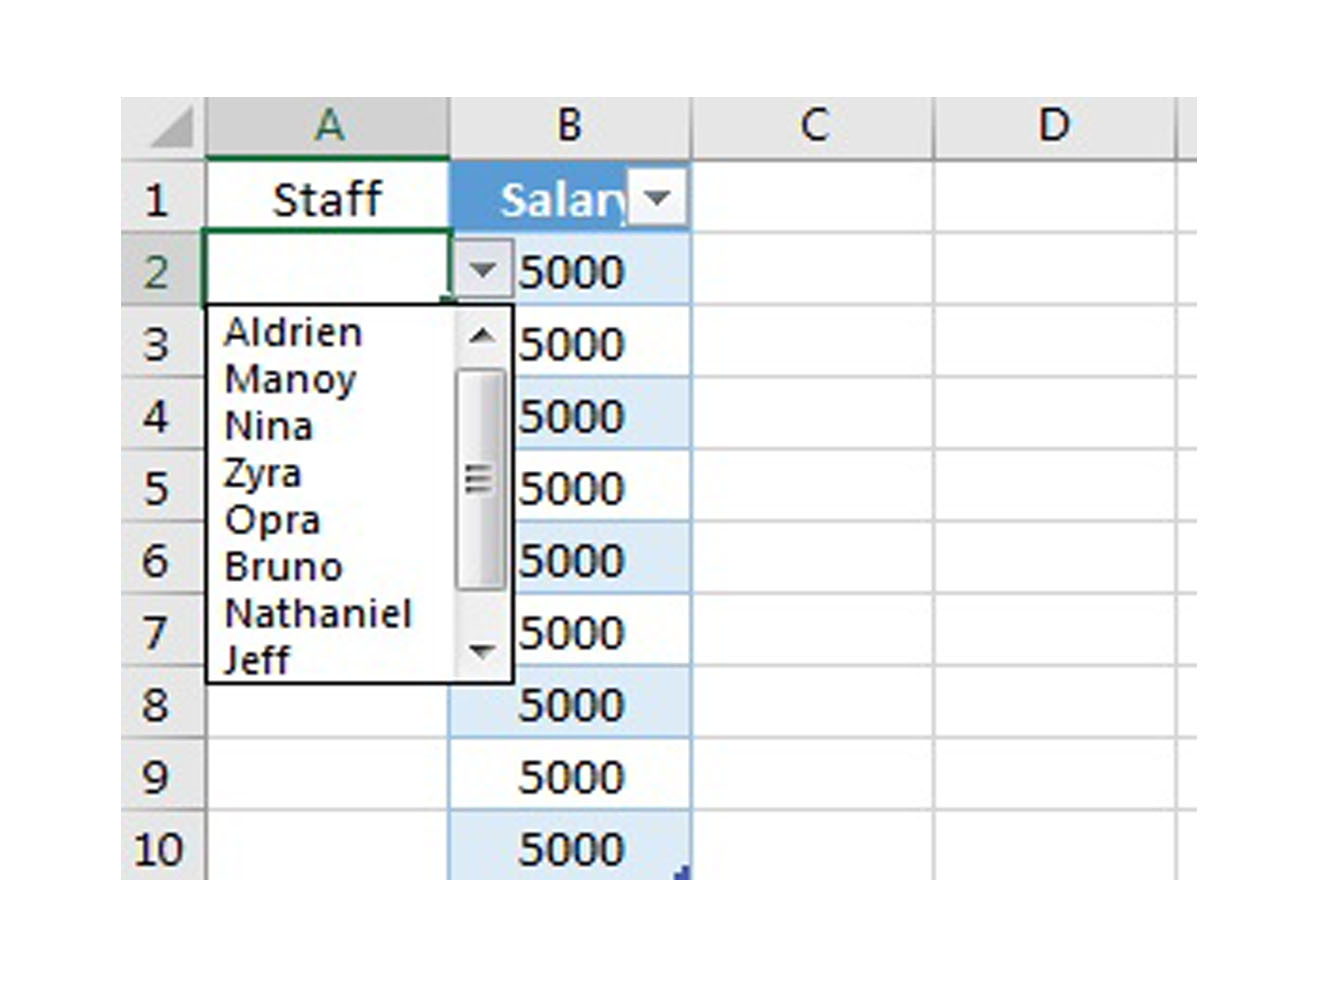
Step 7: For the last click OK, then select one cell & click on the drop-down arrow.
Here's an example of using data validation to only allow whole numbers or a date range:
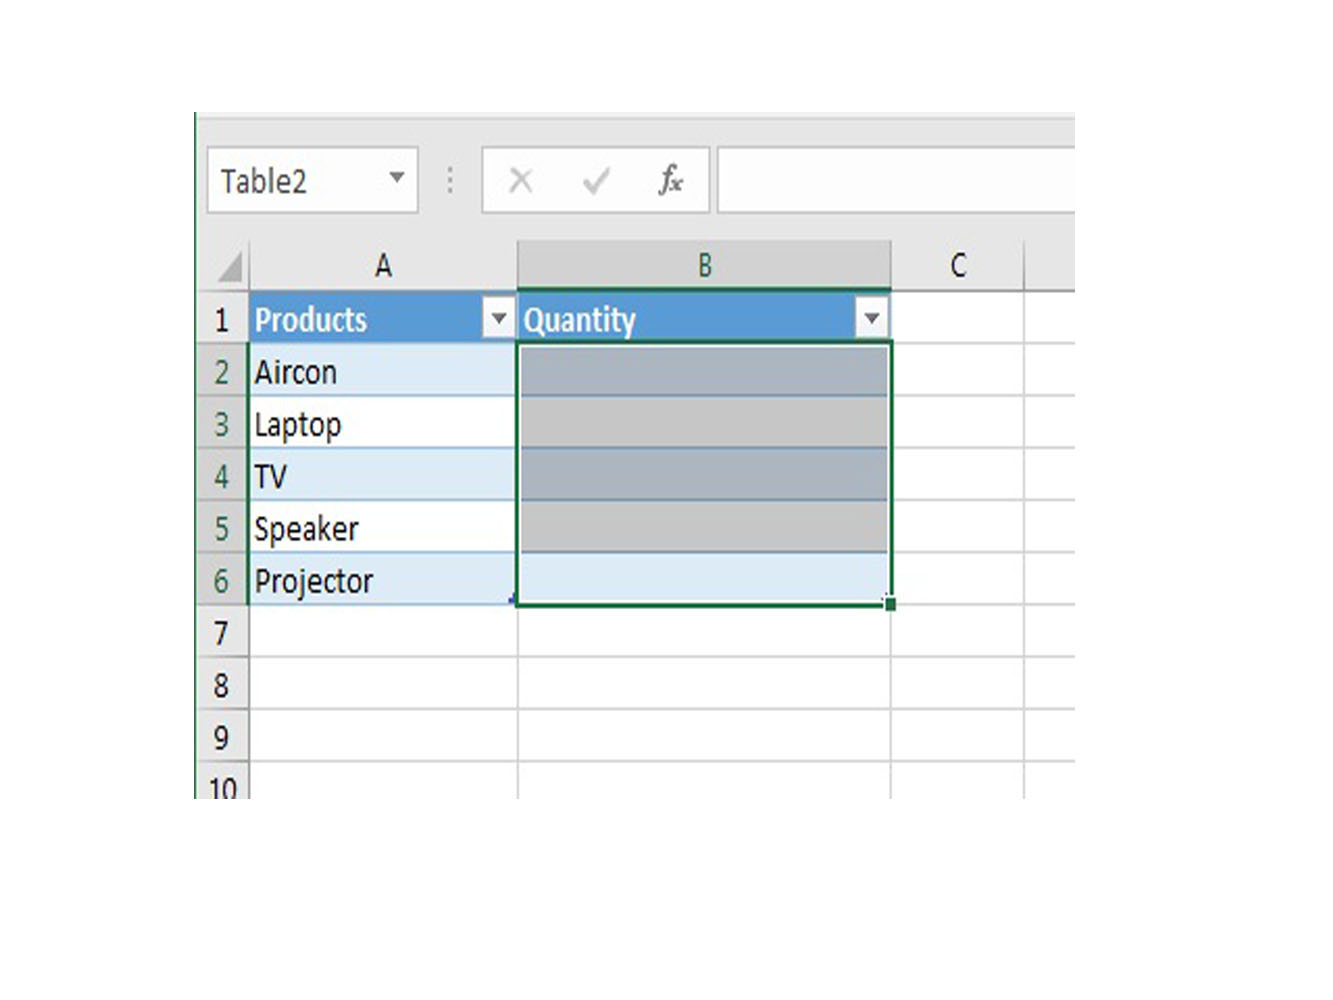
Step 1: Select B1:B6 cells.
Step 2: Next, click the Data and select Data Validation on the top.
Step 3: Select the whole number on the allow drop-down list.
Step 4: In the Data box, we select greater than.
Step 5: Then in the minimum box, we set the quantity greater than ten.
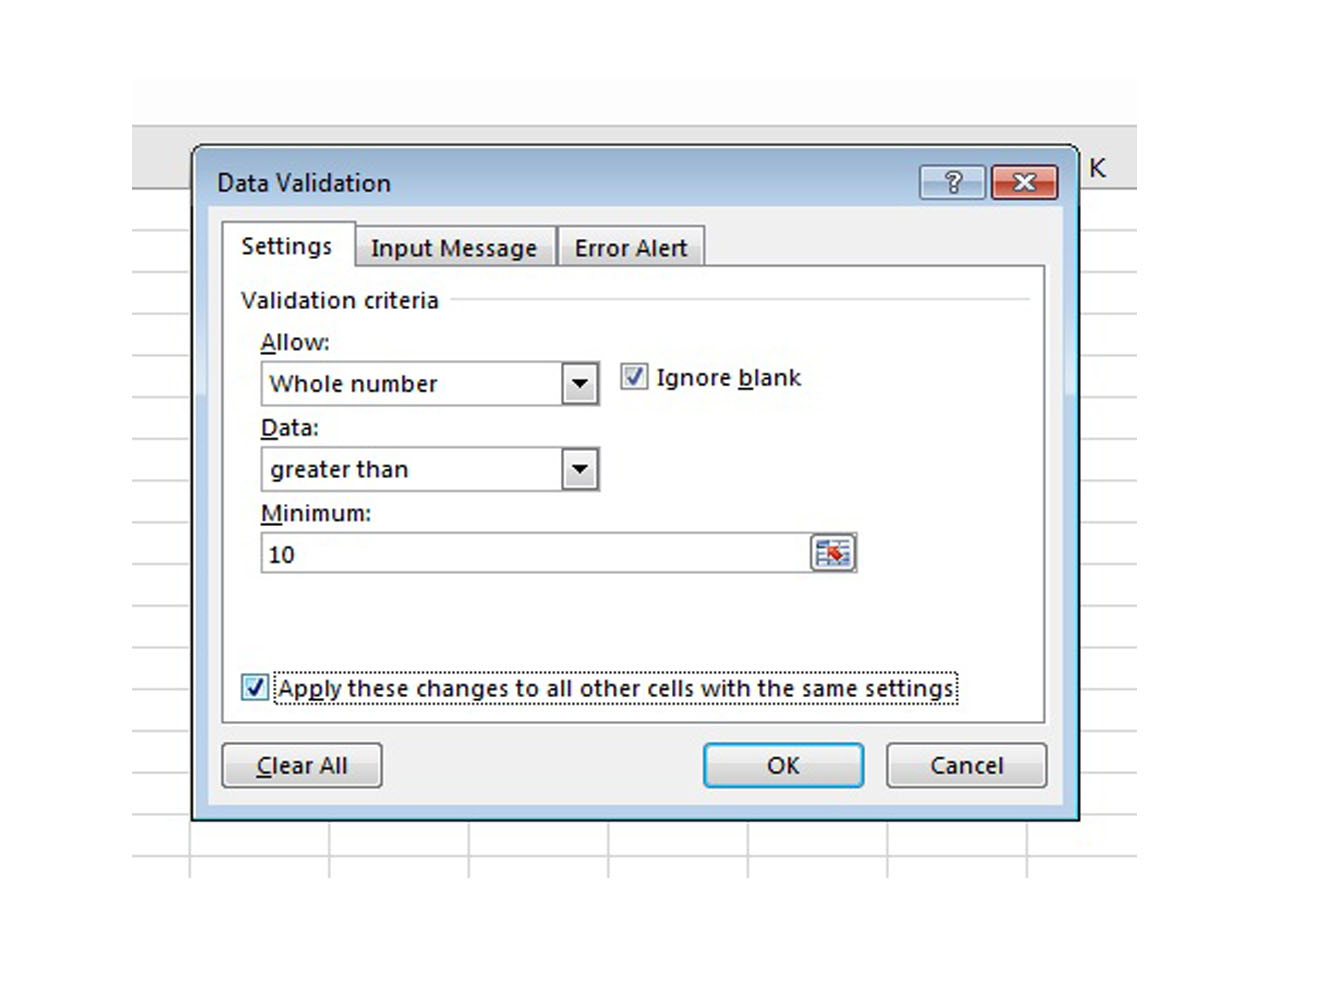
Step 6: Click the OK button.
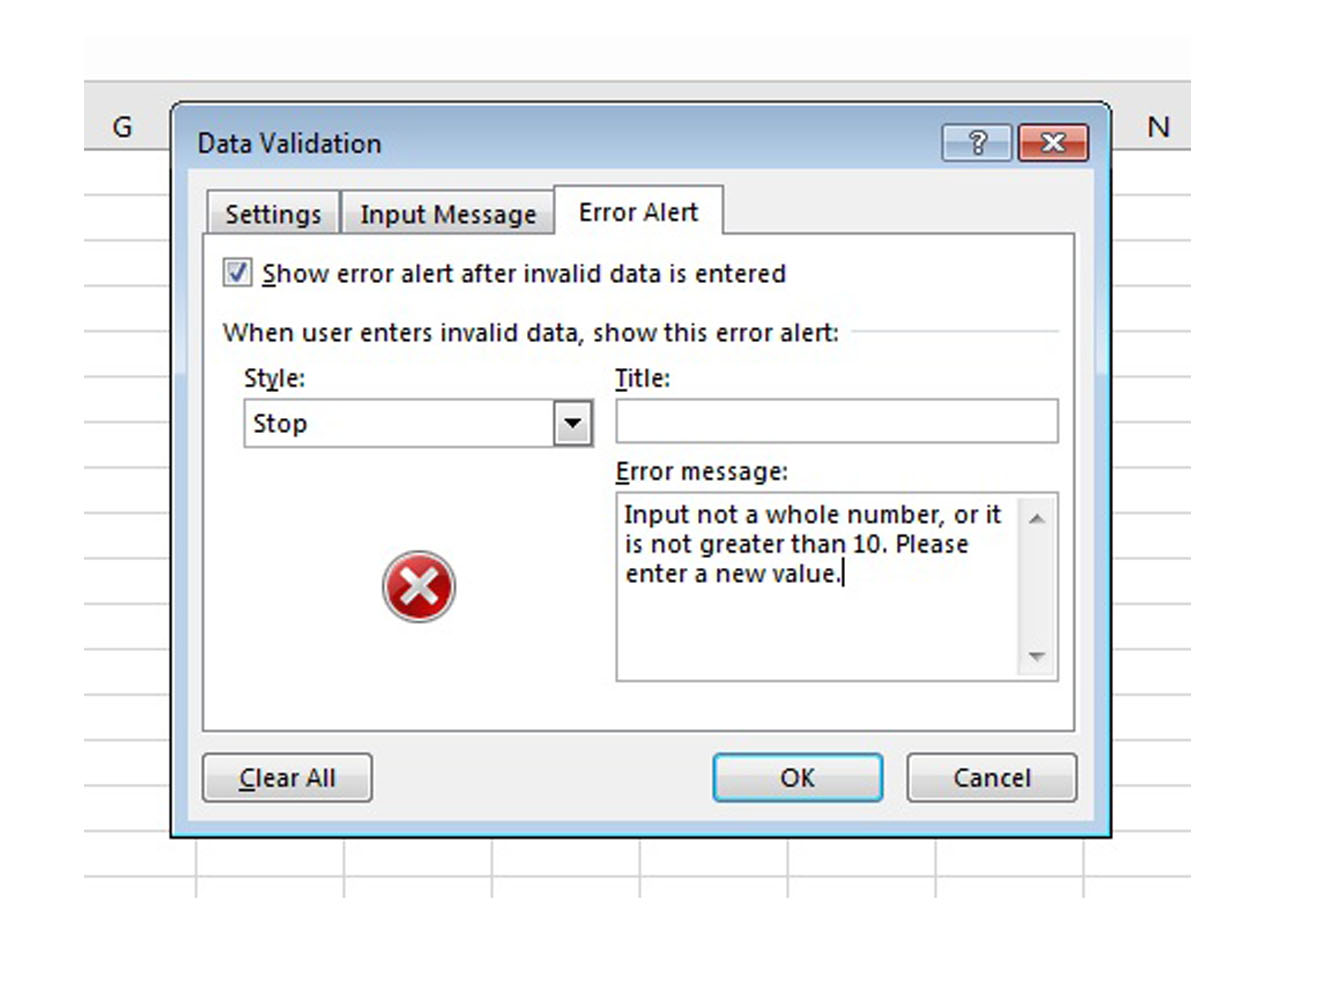
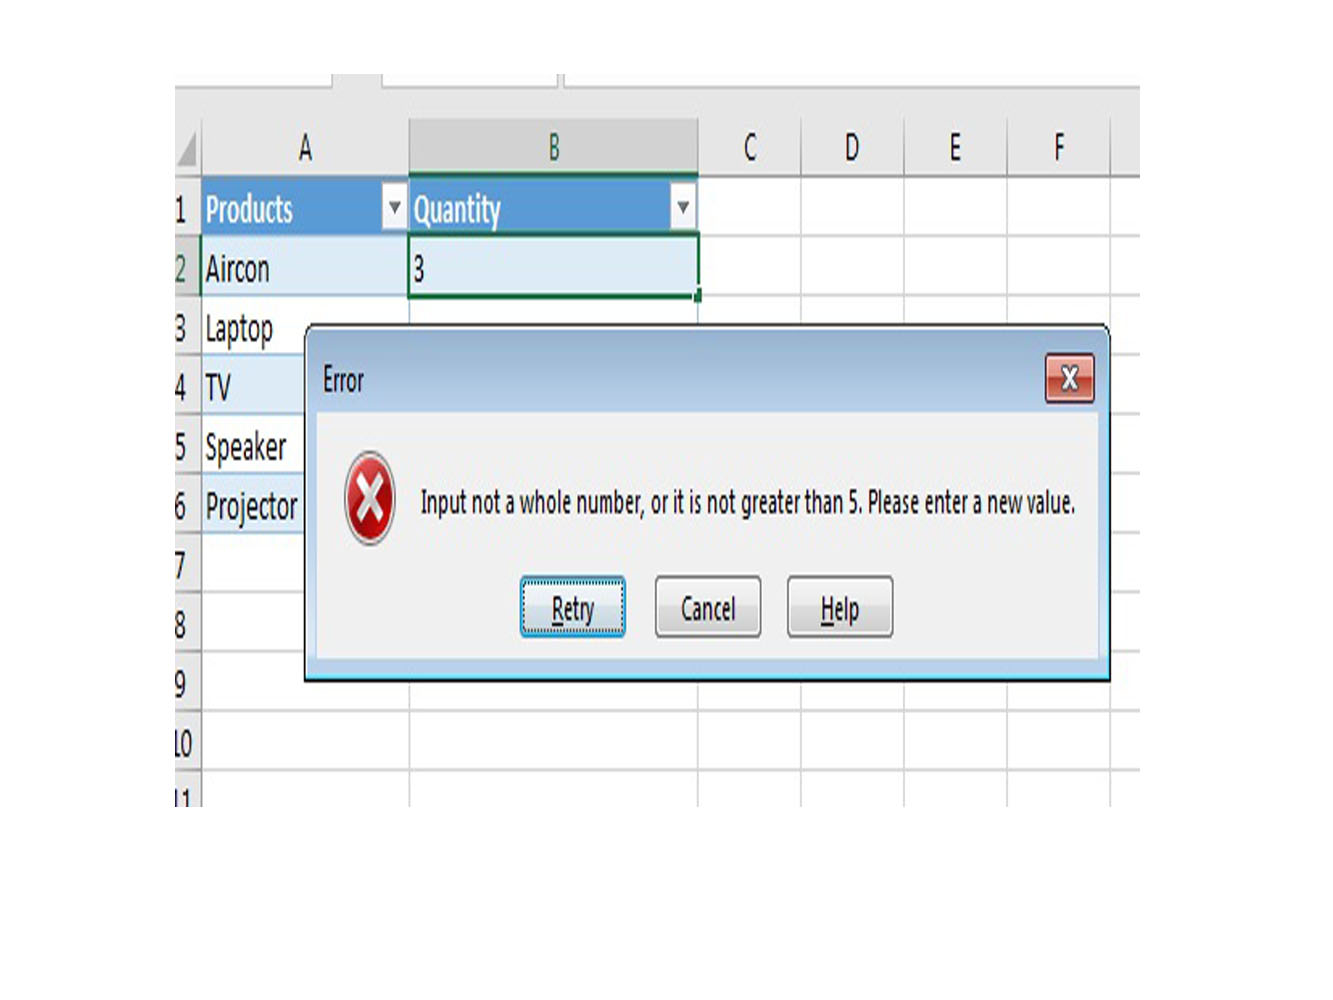
This provides validation to only allow whole numbers only in column B. Attempting for other types of data will cause an error. You may create your own error message. To make this:
Let's go over an example showing how to create custom rules on what can only be entered in our worksheet:
Step 1: Highlight the cells you want to apply the restriction.
Step 2: Press the alt >> D >> L key to display the data validation dialog box and choose the settings tab.
Step 3: Select custom & type the formula below in the formula box. “=ISTEXT(A1)”
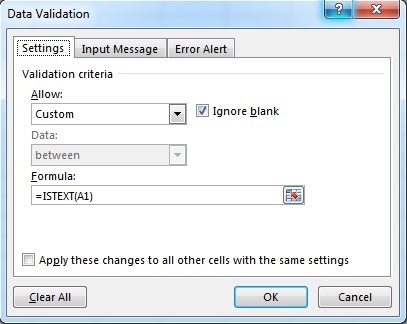
Select & press the OK button to put in the data validation rule.
In this article, we learned about Excel data validation. Now you can make be sure your data will be in the proper format. This is very important as you start building larger and larger worksheets, you'll want to know that the raw data is in the right format. We showed you how to create dropdowns so that the user can only enter certain values which will assure that the value is always one of the allowed values. There's a lot you can do with data validation and we hope this article was a good starting point to creating solid worksheets where you're confident in the data.